Tortilla Crab Roulette Rolls

DSCN2617

These tortilla crab roulette rolls are super delicious and so simple to prepare! It is one of my hubby’s most favorite appetizers that I make and he requests it for any big dinner event and of course every big Holiday event! It has become a tradition to make these for Christmas every single year and if I don’t, it feels like there is something missing on the table. My favorite part about this appetizer is that it can be made a day ahead of time and stays good in the fridge for up to a week, although in our house it does not last that long! Lol. So it is great for a big dinner or party if you have guests coming over and are overwhelmed with a lot to cook, this dish can be crossed off your list the day before. I have been making this appetizer for years now, just never had a chance to post it yet, it has been tried by several friends and relatives and everyone always loves it. So, if you are having a hard time choosing an appetizer to make for an important event, this recipe will not fail you! 🙂

Tortilla Crab Roulette Rolls {Serves 14-18} 

Ingredients:

  • Imitation Crab Meat, Flak Style 24 oz (Usually 3 packs of 8 oz)
  • 5 Flour Tortillas (Big Burrito Size)
  • 3 1/2 cups Mexican Blend Cheese (Shredded)
  • 8-9 Hard Boiled Eggs
  • 1 Cup Mayonnaise (I use Hellman’s Brand)
  • 2 Cloves of Garlic

Directions:

1) Cook your eggs to make them hard boiled. Meanwhile, cut all the imitation crab meat into small pieces and set it aside in a big bowl. Once the eggs are done, cool them off, peel them and cut them also into small pieces. Put the shredded Mexican blend cheese into a separate big bowl.

DSCN2517

DSCN2520

2) In a separate bowl or measuring cup, put the 1 cup of Mayonnaise. Peel the garlic cloves and add them into the Mayonnaise using a garlic press. Mix very well to distribute the garlic evenly.

3) Take a big piece of parchment paper or foil and lay it down on the table (This is not necessary but makes cleaning much easier afterwards.) Put the tortilla on the parchment paper and using a butter knife, spread a thin, even layer of the Mayonnaise mix on it. It should be about 3 heaping Tablespoons of Mayo mix per each tortilla.

DSCN2525

4) Then using your hands, evenly sprinkle the Mexican blend cheese over the mayo.

DSCN2527

5) Then evenly sprinkle the hard boiled eggs over the layer of cheese.

DSCN2530

6) Then evenly sprinkle the imitation crab meat over the layer of eggs.

DSCN2531

7) Then roll up the tortilla into a roulette, or burrito looking roll. Then put the roll in foil and tighten the foil around the roll so it does not loose its shape and stays like a roulette roll.

DSCN2538

DSCN2542


8) Refrigerate over night or at least 8 hours. Then when you are ready to serve it, just carefully take it out of the foil and cut it into pin wheels. *Make sure to cut it into thick (About 3/4 inch thick) pin wheels, if you cut it too thin it will fall apart and loose it’s shape! Cut the ends off, because they do not look pretty with the way the tortilla just hangs off the sides, so I do not put it in the serving plate I either eat it or discard it. I have my husband help me with this step, he cuts and I hold them so they don’t fall and break apart, then neatly transfer them to a serving plate. *Best served cold, right out of the fridge, so cut right before serving them.

DSCN2617

DSCN2609

Korean Carrot Salad (Markovcha)

DSCN2590

This is probably my most favorite salad ever, and I do not throw the word “favorite” around. It is the classic Russian carrot salad (Markovcha) Although it is actually an authentic Korean dish that has been adapted by Russians/Ukrainians.  I am sure most Russian/Ukrainian people have tried this salad at one point or another and can agree with me that it has become a traditional favorite. I have this salad on the table at all the special occasions, fancy dinners, and especially Holiday dinners, and it is always the first dish gone! I always make a double or sometimes even triple batch of it to enjoy for the next few days. This salad is common at almost all Russian/Ukrainian weddings and for good reason! This is my version of the salad, I got this recipe from my mother in law Tamara, but of course have added a few of my own changes to it. You should have seen that coming. 😉 I have yet to try a Korean carrot salad that tastes better then this one. I hope you all enjoy it just as much as my family does.

Korean Carrot Salad {Makes about 2.2 pounds. Serves 12-14}

Ingredients:

  • 1 Kilogram Carrots (About 2.2 LB)
  • 1/2 Cup Olive Oil
  • 4 Tablespoons Vinegar
  • 1 teaspoon Salt
  • 1 1/2 Tablespoons Sugar
  • 2 cloves of Garlic
  • Pepper to taste
  • 2 packs of Korean Carrot Salad Seasoning (Found in most Russian, European, Polish stores.)
  • *IMPORTANT TOOLS*: Mandolin Slicer (My dad bought me one at an Asian store.)

DSCN2556

(I did not take a picture of the ingredients as they are very basic ingredients, But for those that need it, here is a picture of the Korean Carrot Salad Seasoning. It usually cost .65 or .75 cents and can be found at most Russian, European, and Polish stores. I got mine at the Polish store.)

1) Wash and peel all the carrots then set them aside in a big bowl.

2) Take a large bowl and using the mandolin slicer, slice the carrots into thin, matchstick like, neat strips. (I used a big pot because this was for a party and I made 3X as much and it only fit into a big pot lol.)

DSCN2543

DSCN2544

3) In a separate bowl, combine the olive oil, vinegar, salt, sugar, pressed garlic, pepper, and Korean carrot salad seasoning packets. Mix it very well.

DSCN2550


4) Add it to the large bowl (Or pot in my case lol) with carrots, pour it on top. Then mix the carrots very well until well blended with the sauce and seasonings.

DSCN2559


5)Cover and refrigerate over night or at least 10 hours. It is then ready to be enjoyed. Just make sure to mix it very well before putting it into the serving bowls!

DSCN2590

DSCN2596

(And a close up, so you can see the texture, and detail.)


Stuffed Bell Peppers

DSCN2433

A delicious bell pepper, stuffed with meat, rice, herbs and spices, cooked in a satisfying sauce consisting of freshly pureed tomatoes cooked with onion, carrots, spices, dry herbs, and cilantro until they reach perfection and are soft, served hot in a bowl with the sauce and a dollop of organic sour cream on top… Okay is your mouth watering yet? Lol. If I could, if I only could, I would probably eat this dish every single day, and never get tired of it! It is one of my most favorite things to eat, especially during fall and winter when it gets cold outside and I crave a warm homemade comfort food. I came up with this recipe all on my own. I knew what stuffed peppers consisted of, but I added my own zing to it and completely changed the entire recipe until I came up with this wonderfulness. This has got to be hands dowwwwwn the best recipe for stuffed bell peppers that you will ever try. I just made a big pot of these last week which we ate for 2 days in a row and now my husband is asking for me to make them again. Even my 2 1/2 year old son loved them, he calls it bell pepper soup lol. Well you have seen the pictures yourself, so do I really need to say more? That’s what I thought! 🙂

Stuffed Bell Peppers {Serves 4-6} 

Ingredients:

  • 1 LB Ground Beef
  • 1 LB Ground Pork
  • 7 Bell Peppers, medium sized (Any colors. I like to mix different colors for a pretty looking variety.)
  • 1/2 Cup (Raw) Rice
  • 5 Large Tomatoes
  • 1 Large Onion
  • 2 Large Carrots, or 3 Smaller ones
  • 4-5 Cloves of Garlic
  • 1 teaspoon of Vegeta seasoning
  • 1/2 teaspoon of Mrs. Dash seasoning
  • 1/2 teaspoon of dry basil
  • 3 Chicken Bullion Cubes
  • Garlic Powder to taste
  • Salt/Pepper to taste
  • 2-3 Bay Leaves
  • 1/2 Bunch of Cilantro
  • Fresh or Dry Dill
  • 2 Tablespoons of Vegetable Oil (For Frying)

Directions:

1) Do the prep work first, this will make it a lot easier for you later on. Cook the 1/2 cup of rice, according to the instructions. Finely dice the onion and set it aside. Shred the carrots and set them aside. When the rice cooks, let it cool down a bit.

2) Put the ground beef and ground pork into a large bowl. Add the cooled rice to the bowl. Add the vegeta seasoning and Mrs.dash seasoning (or seasonings of your choice), add the dry basil, and garlic powder, salt, and pepper to taste. Set the bowl aside.

DSCN2405                 DSCN2407

3)  In a large pan, heat 2 Tablespoons of vegetable oil on medium heat. Add the onion, then carrots. Cook until the onion and carrots are soft. Meanwhile, wash your tomatoes and put them all in a blender. Cut them into pieces so that they all fit in the blender. Blend them to a puree.

DSCN2409                  DSCN2406

4) When the onions and carrots in the pan are soft, add the pureed tomatoes into the pan. Simmer for about 5 to 7 minutes then set aside on the stove. It turns from a pinkish red to a rich red color when it cooks (like pictured below).

DSCN2411                      DSCN2412

5) When the tomato mixture is cooked, add 3/4 of a cup into the bowl with meat and spices. Mix the meat mixture well. Set the rest of the pan with the tomato mixture aside.

DSCN2416                       DSCN2417

6) Cut out a hole in the middle of each bell pepper using a knife. Wash the peppers well inside and outside. Boil 2 Liters of filtered water in a tea kettle.

DSCN2403                       DSCN2401

7) Then you can stuff each bell pepper with the meat mix. Stuff each bell pepper until it is full of meat. When you are done stuffing each bell pepper and have some meat mix left over you can add it to the top of each pepper, over stuffing it a little bit but not too much. Put the peppers in a large pot.

DSCN2423

8) Pour the rest of the tomato mixture into the pot, on top of the bell peppers.

DSCN2424

9) Pour the boiled water from the tea kettle into the soup. Covering almost all of the bell peppers. Cook the peppers on medium-high heat (I did a 7.5) until the peppers are cooked through, for about 40-45 Minutes. After 20 Minutes add in your bay leaves, then cut the chicken bullion cubes into small pieces and throw it into the pot, then finely cut the cilantro and add it to the pot. Mix well and in the last 10 minutes of cooking add the garlic either minced or through a garlic press, then add finely chopped dill and salt/pepper, vegeta, any other spices according to your taste preferences.  *Sorry I forgot to take an after picture of how the bell peppers look in the pot when they are done!*

DSCN2428

*Serve each stuffed pepper hot, in a soup bowl with the bullion from the pot . Don’t forget to serve with fresh sour cream on the side!*

DSCN2433                      DSCN2435

“Hey Mr.Photographer, I think I’m ready for my close up! 😉 ”

DSCN2438

Chebureki (Tortillas w/ Meat filling)

DSCN2376

These Chebureki are amazing! They are great for a tea party or an appetizer for dinner (in which case I cut them in halves and serve them like that on a plate). You can make them ahead of time and just heat them up in the oven before serving, and they taste just as good. They are perfect for a party or guests because this recipe yields a lot of them. I once made them for my friends birthday party, a whole batch, and cut them in halves since it was for a big group of people and would be an appetizer… Everyone loved them and everyone asked me for the recipe. They were gone with just crumbs left and I wished I had made more! If you are vegetarian, you can make these with mashed potatoes inside instead of the meat filling. I have not tried it that way myself, but have heard that it is also delicious and plan to try those soon. Chebureki look and taste so good but surprisingly are really fast to cook, that’s probably my favorite thing about them as I do not like cooking time consuming meals especially on week nights. So next time you are looking for a perfect chebureki recipe that is quick to make, this recipe is for you!  😉
Chebureki (Tortillas w/ Meat Filling)  { Yields 18}

Ingredients:

  • 1 LB Ground Beef
  • 1 LB Ground Pork
  • 4 Tablespoons Milk
  • 1 bunch of Scallions
  • 1/2 a bunch of Parsley
  • 1/2 a bunch of Cilantro
  • Ground Black Pepper to taste
  • 1 and 1/4 Teaspoon Salt
  • 1/4 Teaspoon Vegeta (or other Seasoning of your choice) Optional
  • 18 RAW Tortillas (You can buy them already done, raw and ready to be cooked. I bought mine at Costco.)
  • 3 Tablespoons Vegetable Oil
  • 1/4 Cup of filtered water

DSCN2351                  DSCN2449

1) Do the prep work first. Put the ground beef and ground pork in a big bowl. Cut your scallions and add them into the bowl w/meat. Finely chop the parsley and cilantro, and add it into the big bowl w/meat. Add the salt, pepper, seasoning and milk into the bowl as well. Mix very well.

DSCN2356                     DSCN2357

2) Put about 3 Tablespoons of vegetable oil into a big pan. Heat it on Medium heat (I did 6.0). While the oil heats up start making the chebureki. Spread a large piece of aluminum foil on the counter (this makes cleaning easy!). Place one tortilla at a time on the aluminum foil. Using a spoon, add about 2 Tablespoons to the tortilla, spread it around and mash it a bit using a fork.

DSCN2360

3)Take a cooking brush, dab it in a cup with filtered water, using the brush, spread a little bit of water all around the edges of the tortilla, not a lot, just enough to make it a little wet. Then close it, so it looks like a half circle, sticking the wet sides together, hold the edges down until they stick together and press down around the edges with another clean fork to make it stick well and have a cute little design going around.

DSCN2361                          DSCN2364

4) When the oil has heated up, lower the heat to 5 or 5.5, put the cheburek into the pan, you can add 2 at a time. When it gets cooked, or golden on one side, flip it over to the other side.

DSCN2371

Repeat the steps for all the chebureki. Line a big plate with paper towels or napkins and put each cooked cheburek into the plate in between a paper towel layer, letting it cool down and drip any extra oil onto the paper towel. *Best served hot, so preheat them in the oven if you need to. However do not preheat in the microwave because it will not taste as good!*

DSCN2384


DSCN2376


Simple Braised Potatoes

DSCN2312

These braised potatoes are a Russian comfort food. Every Russian person that you ask will know about this dish, and like me, grew up eating it. I am convinced that these braised potatoes are my 2 year old son’s favorite food. His favorite part to eat is the meat, which he calls “Myaka” (His Russian way of saying meat) Lol and of course anything with potatoes. He would literally eat this every day, Or anything with potatoes in it. Yes, He definitely has my husbands Ukrainian genes!… These potatoes are a perfect weeknight dinner option as they are fast to make and taste so good.  Next time you are craving your mothers braised potatoes that you basically grew up on, Give this recipe a try. It may not taste exactly like your mom’s, but as close as it can get! 😉

Braised Potatoes                                                                                                                                (Serves 8-10)

Ingredients:

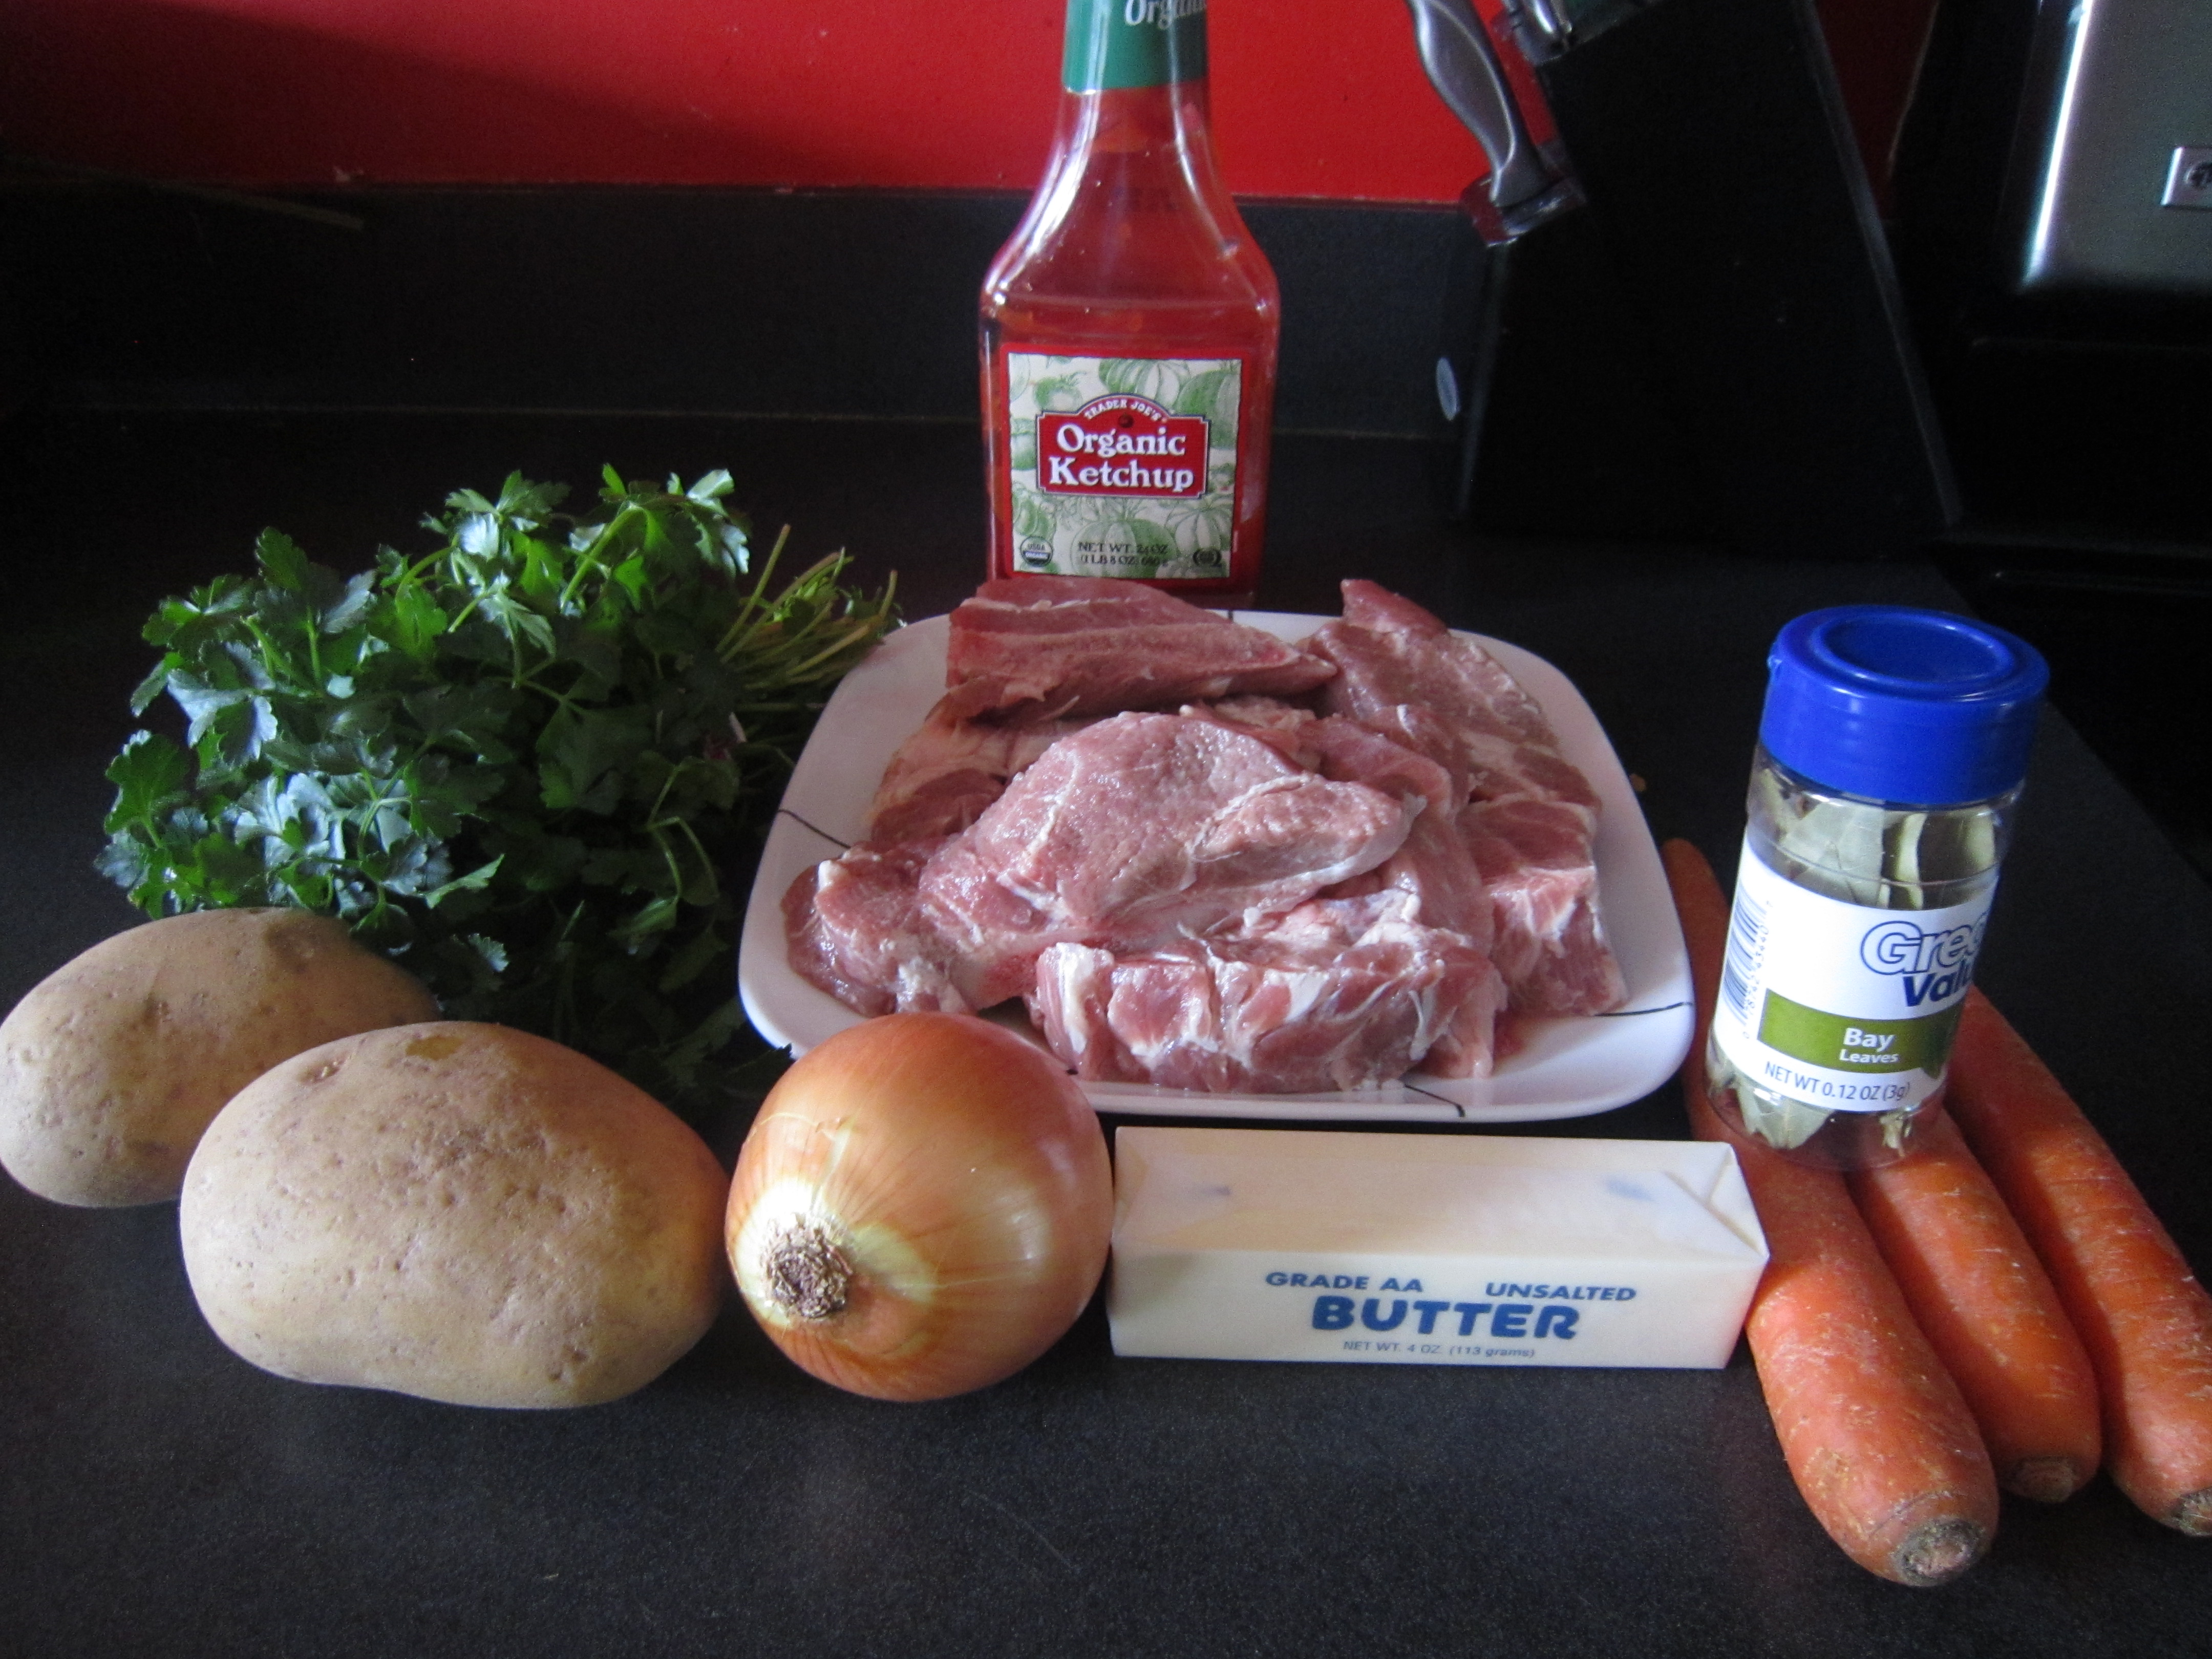
  • 4 to 5 LBS Gold Potatoes (Gold tastes best for this recipe)
  • 3 Carrots
  • 1 Large onion
  • 2.5 LB Pork shoulder (Boston Butt)
  • 2 Tablespoons Oil
  • 2 Tablespoons Butter
  • 1 Small bunch Parsley
  • 2 Bay Leaves
  • 1/4 teaspoon Garlic Powder
  • 1/4 teaspoon Paprika
  • 1/4 teaspoon Mrs.Dash Original seasoning
  • Salt/Pepper to taste
  • 3 Tablespoons of Ketchup (I used Organic Ketchup)
  • Fresh or Dried Dill
  • 3-4 Cloves of Garlic

IMG_0801

Directions:

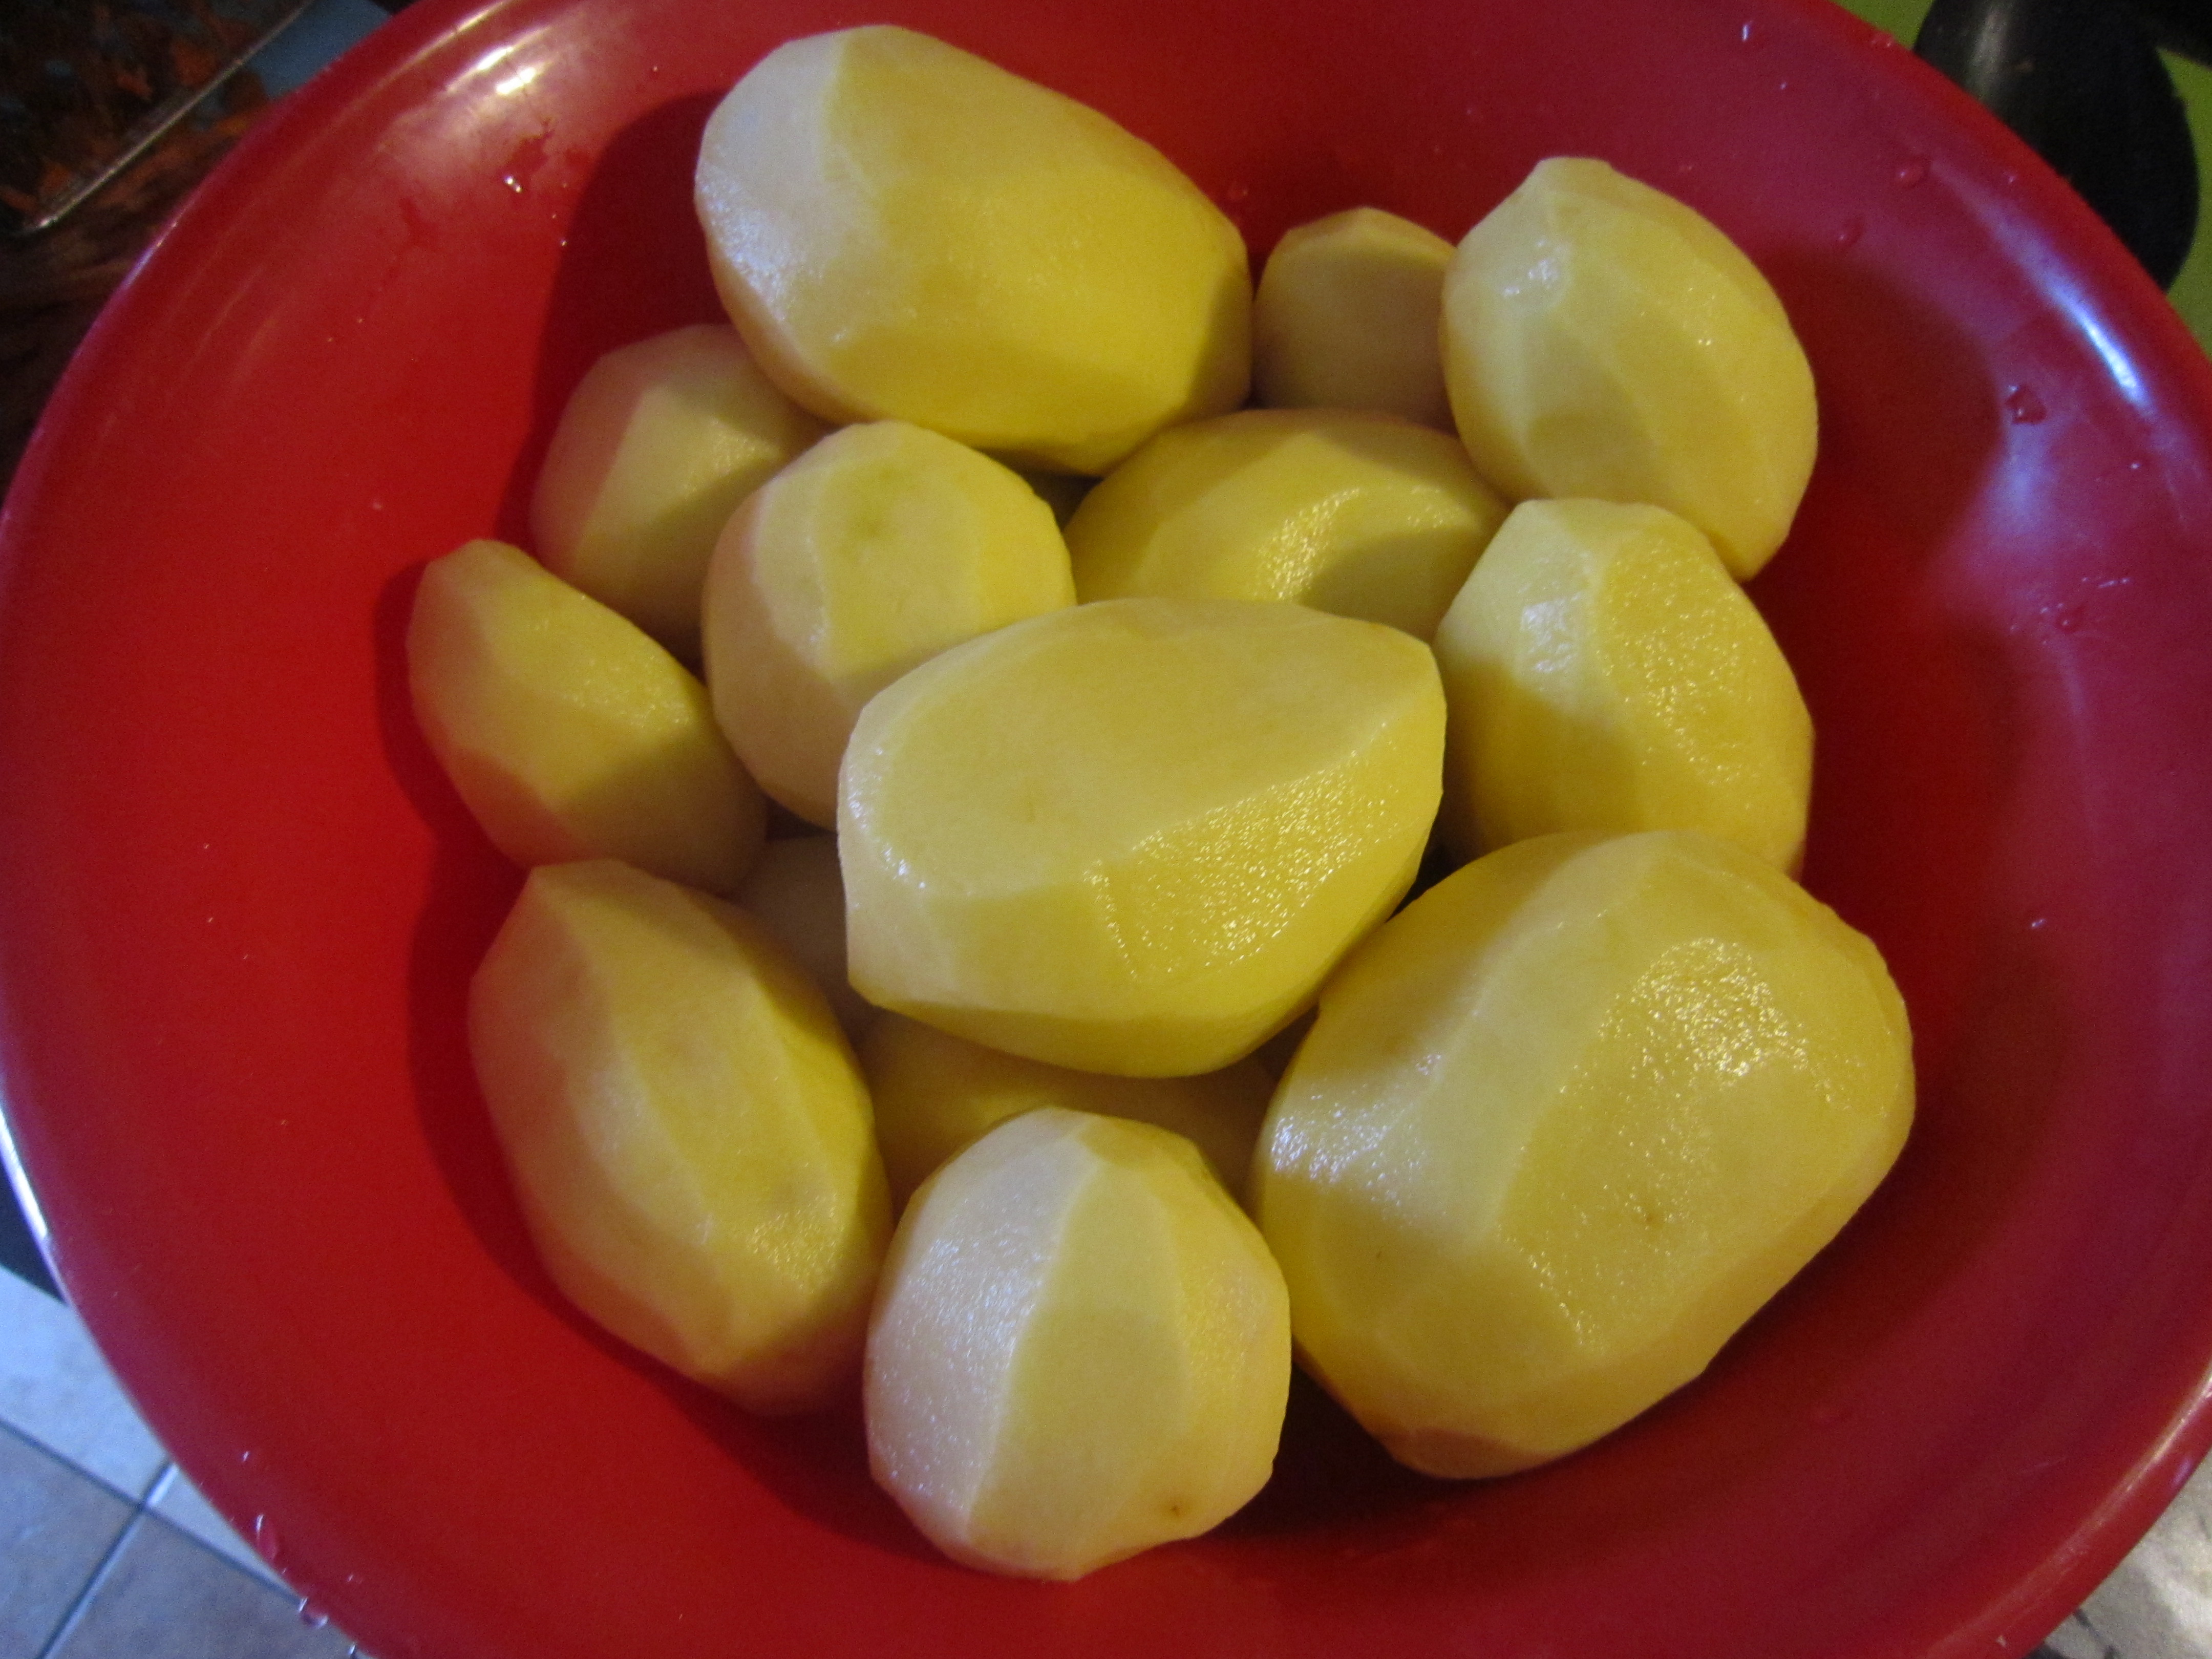
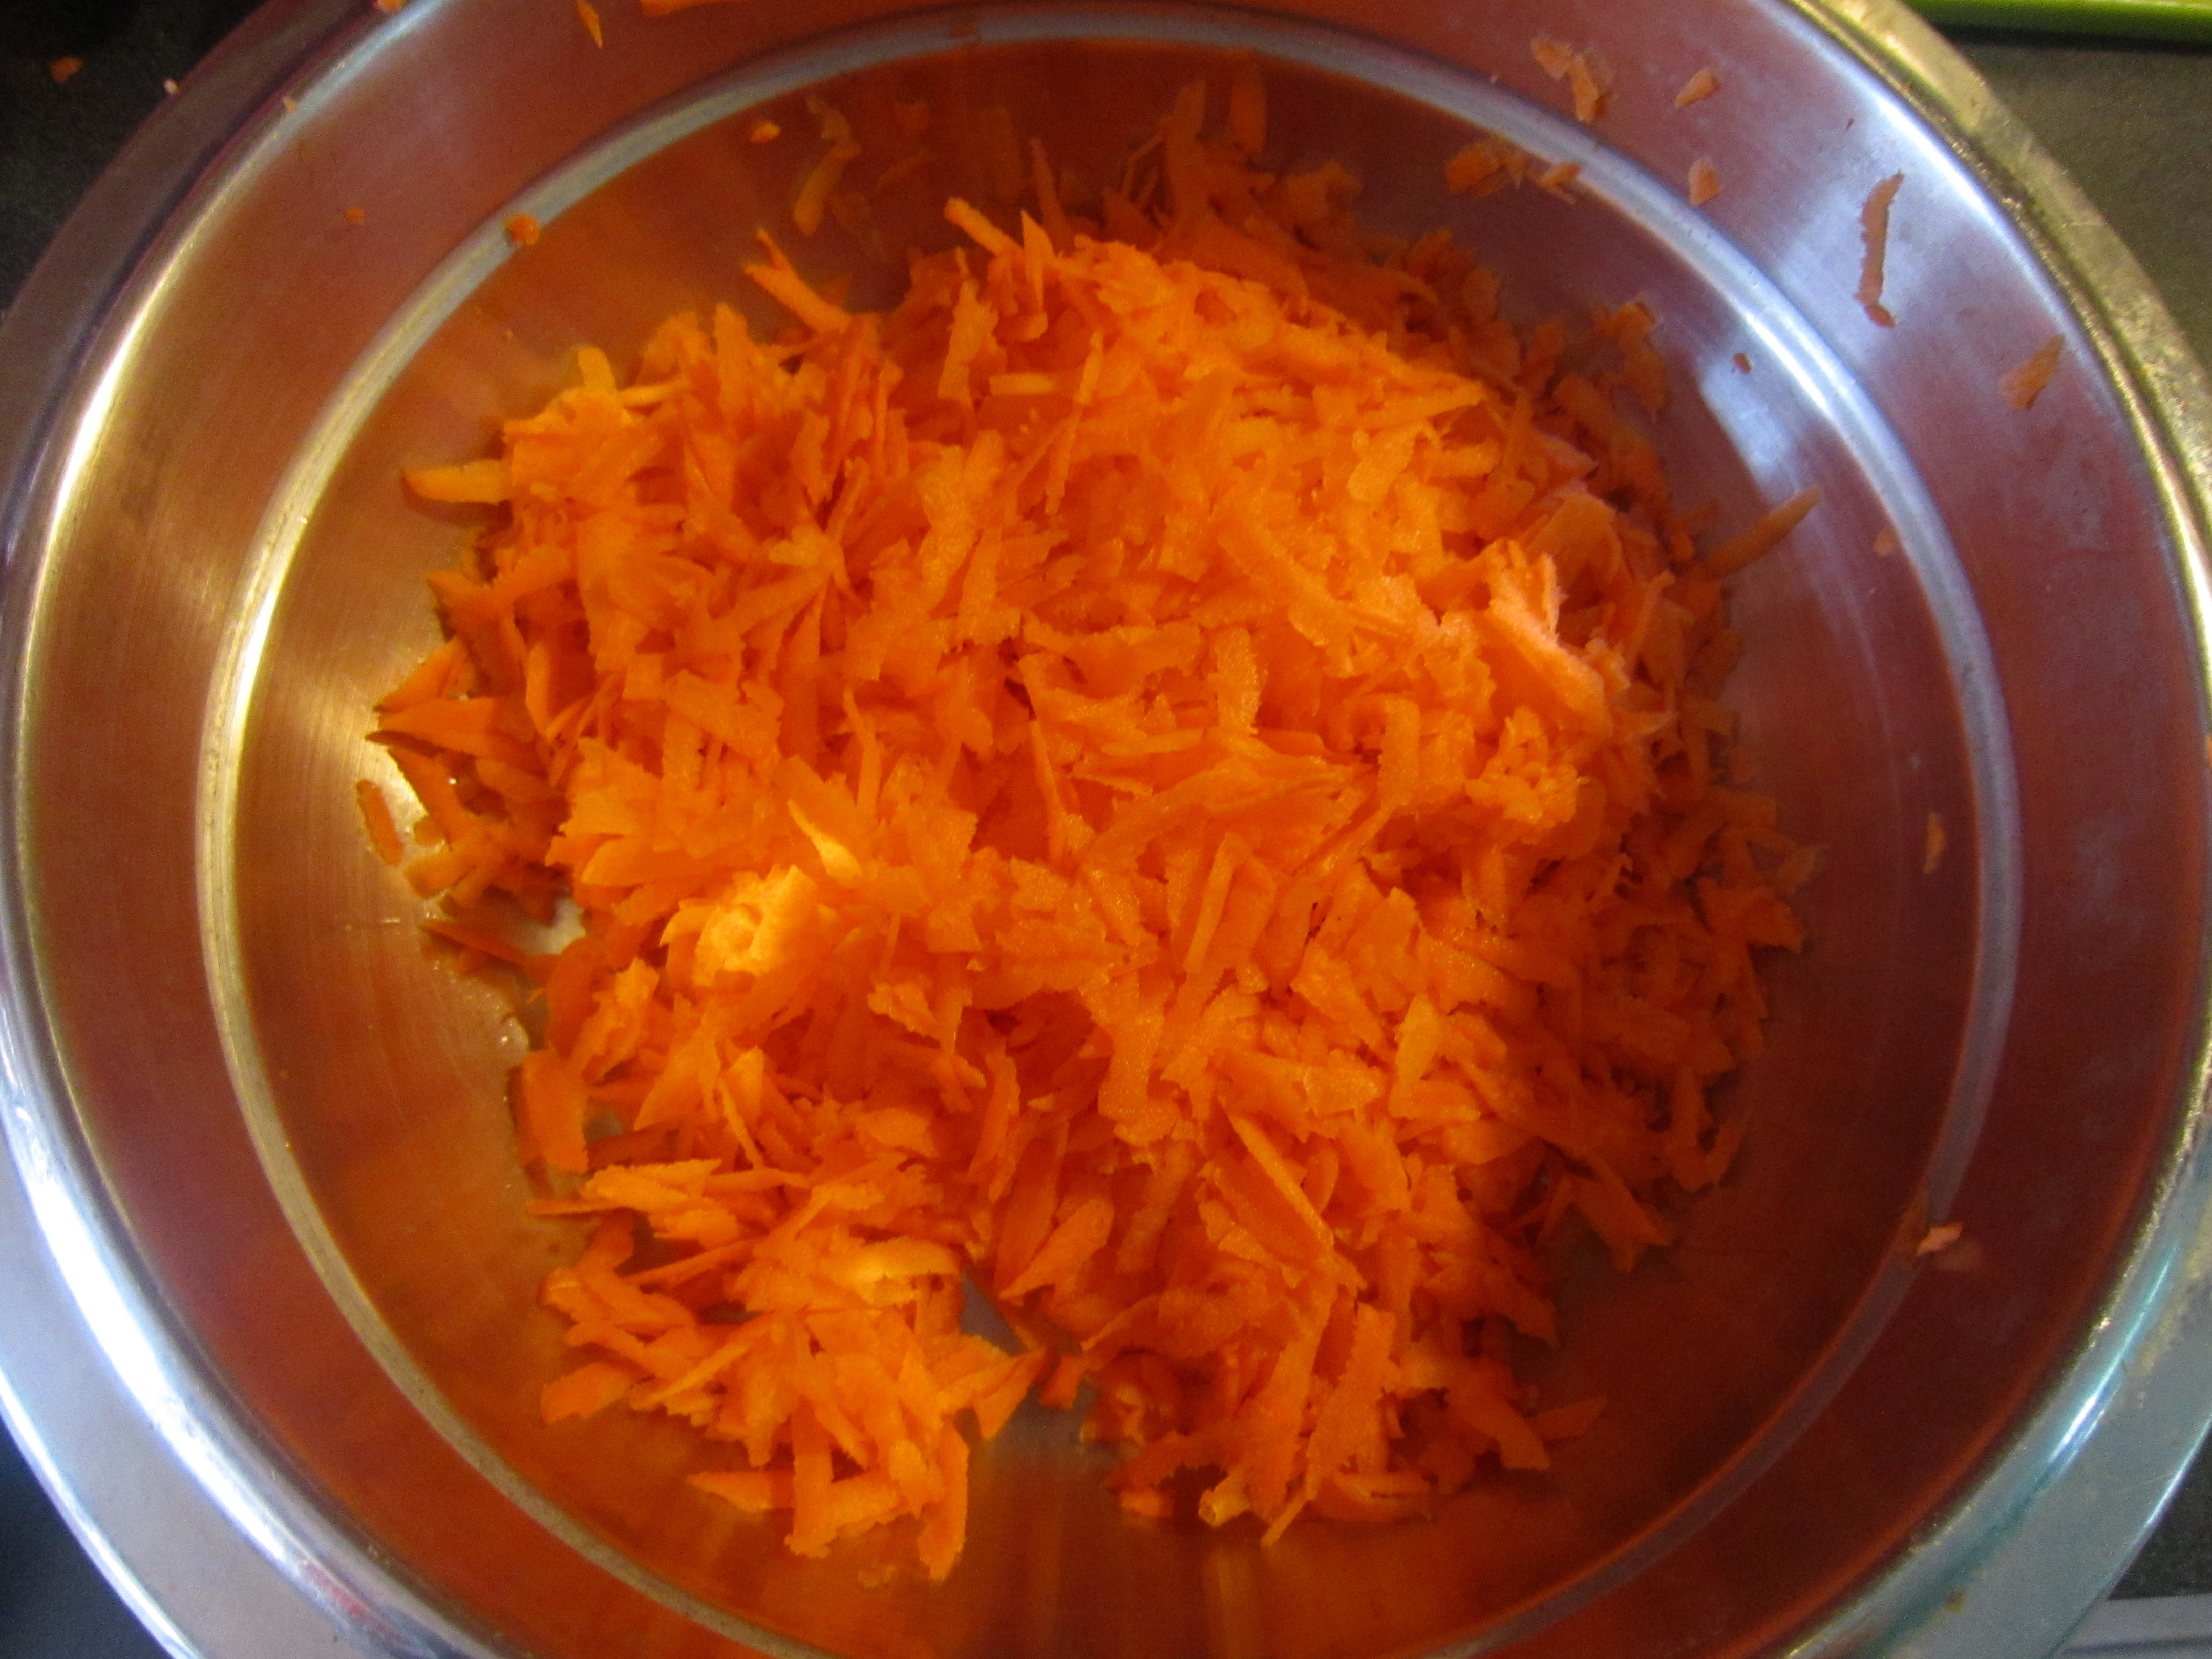
1) Do your prep work first. Peel the potatoes and put them in a large bowl of cold water. Wash, peel, and shred your carrots. Peel and finely dice the onion.

IMG_0817

IMG_0812

IMG_0810

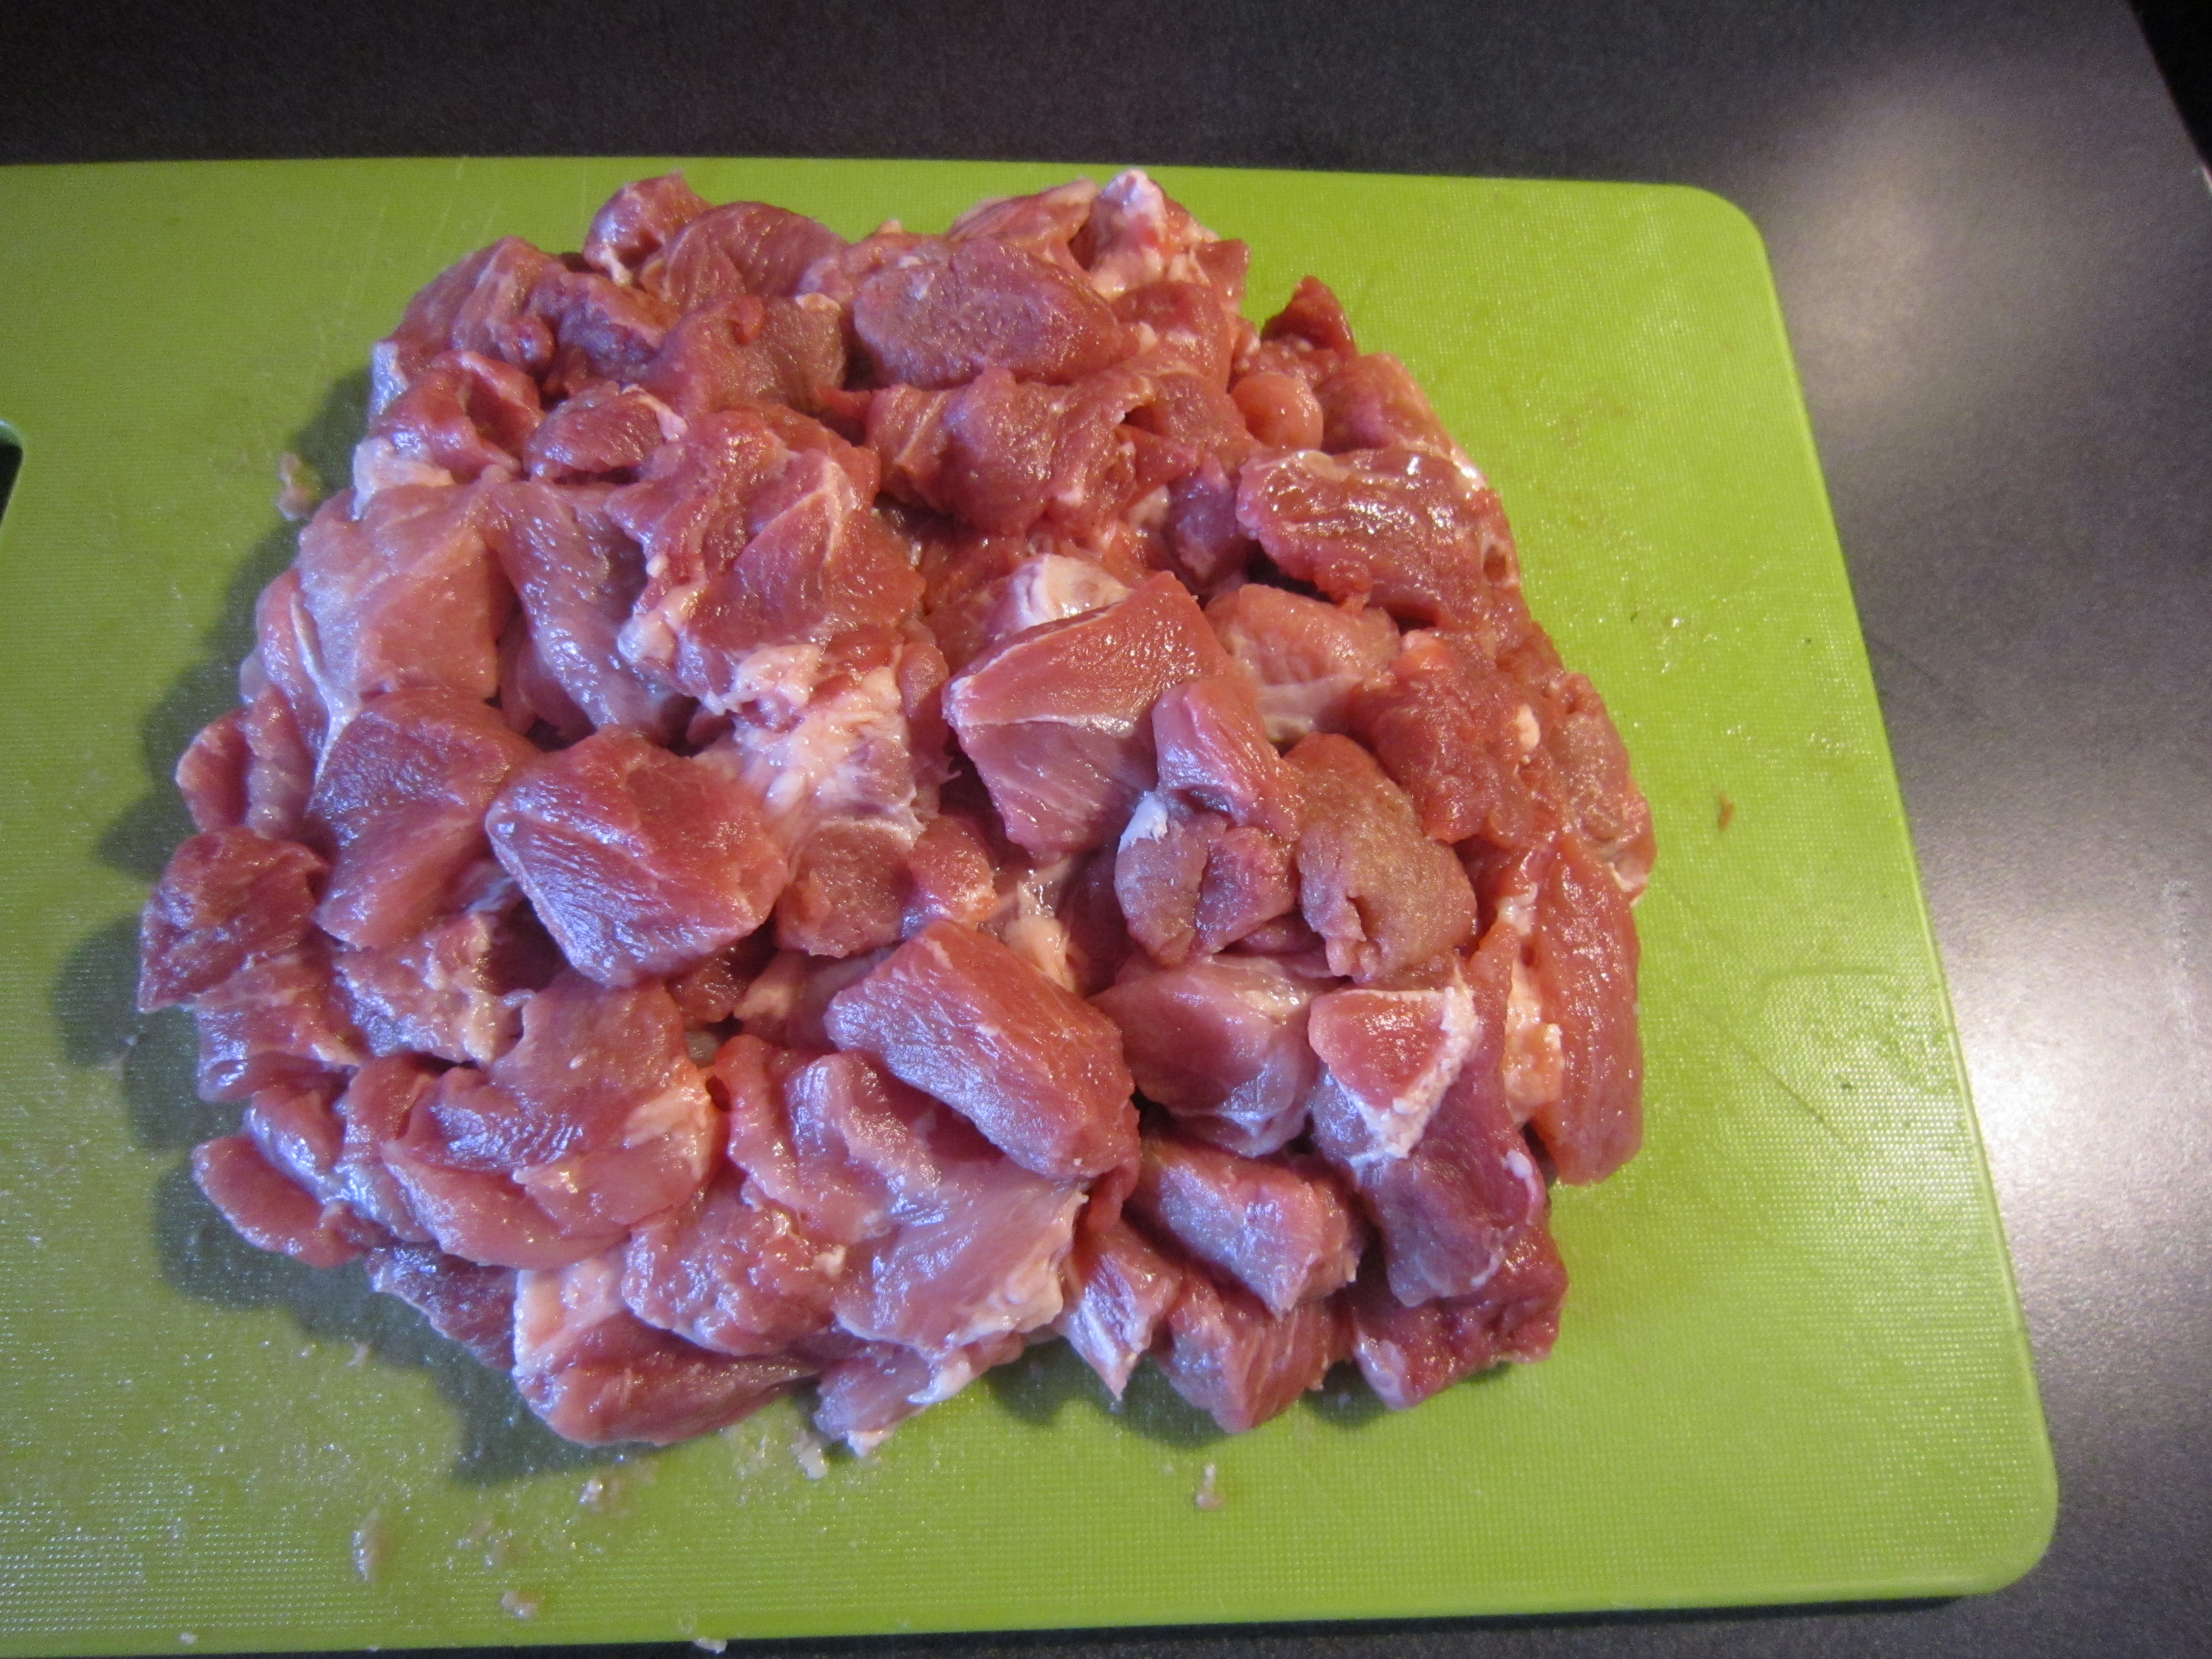
2) Wash the meat thoroughly, then cut it into about 1/2 inch cubes.

IMG_0803

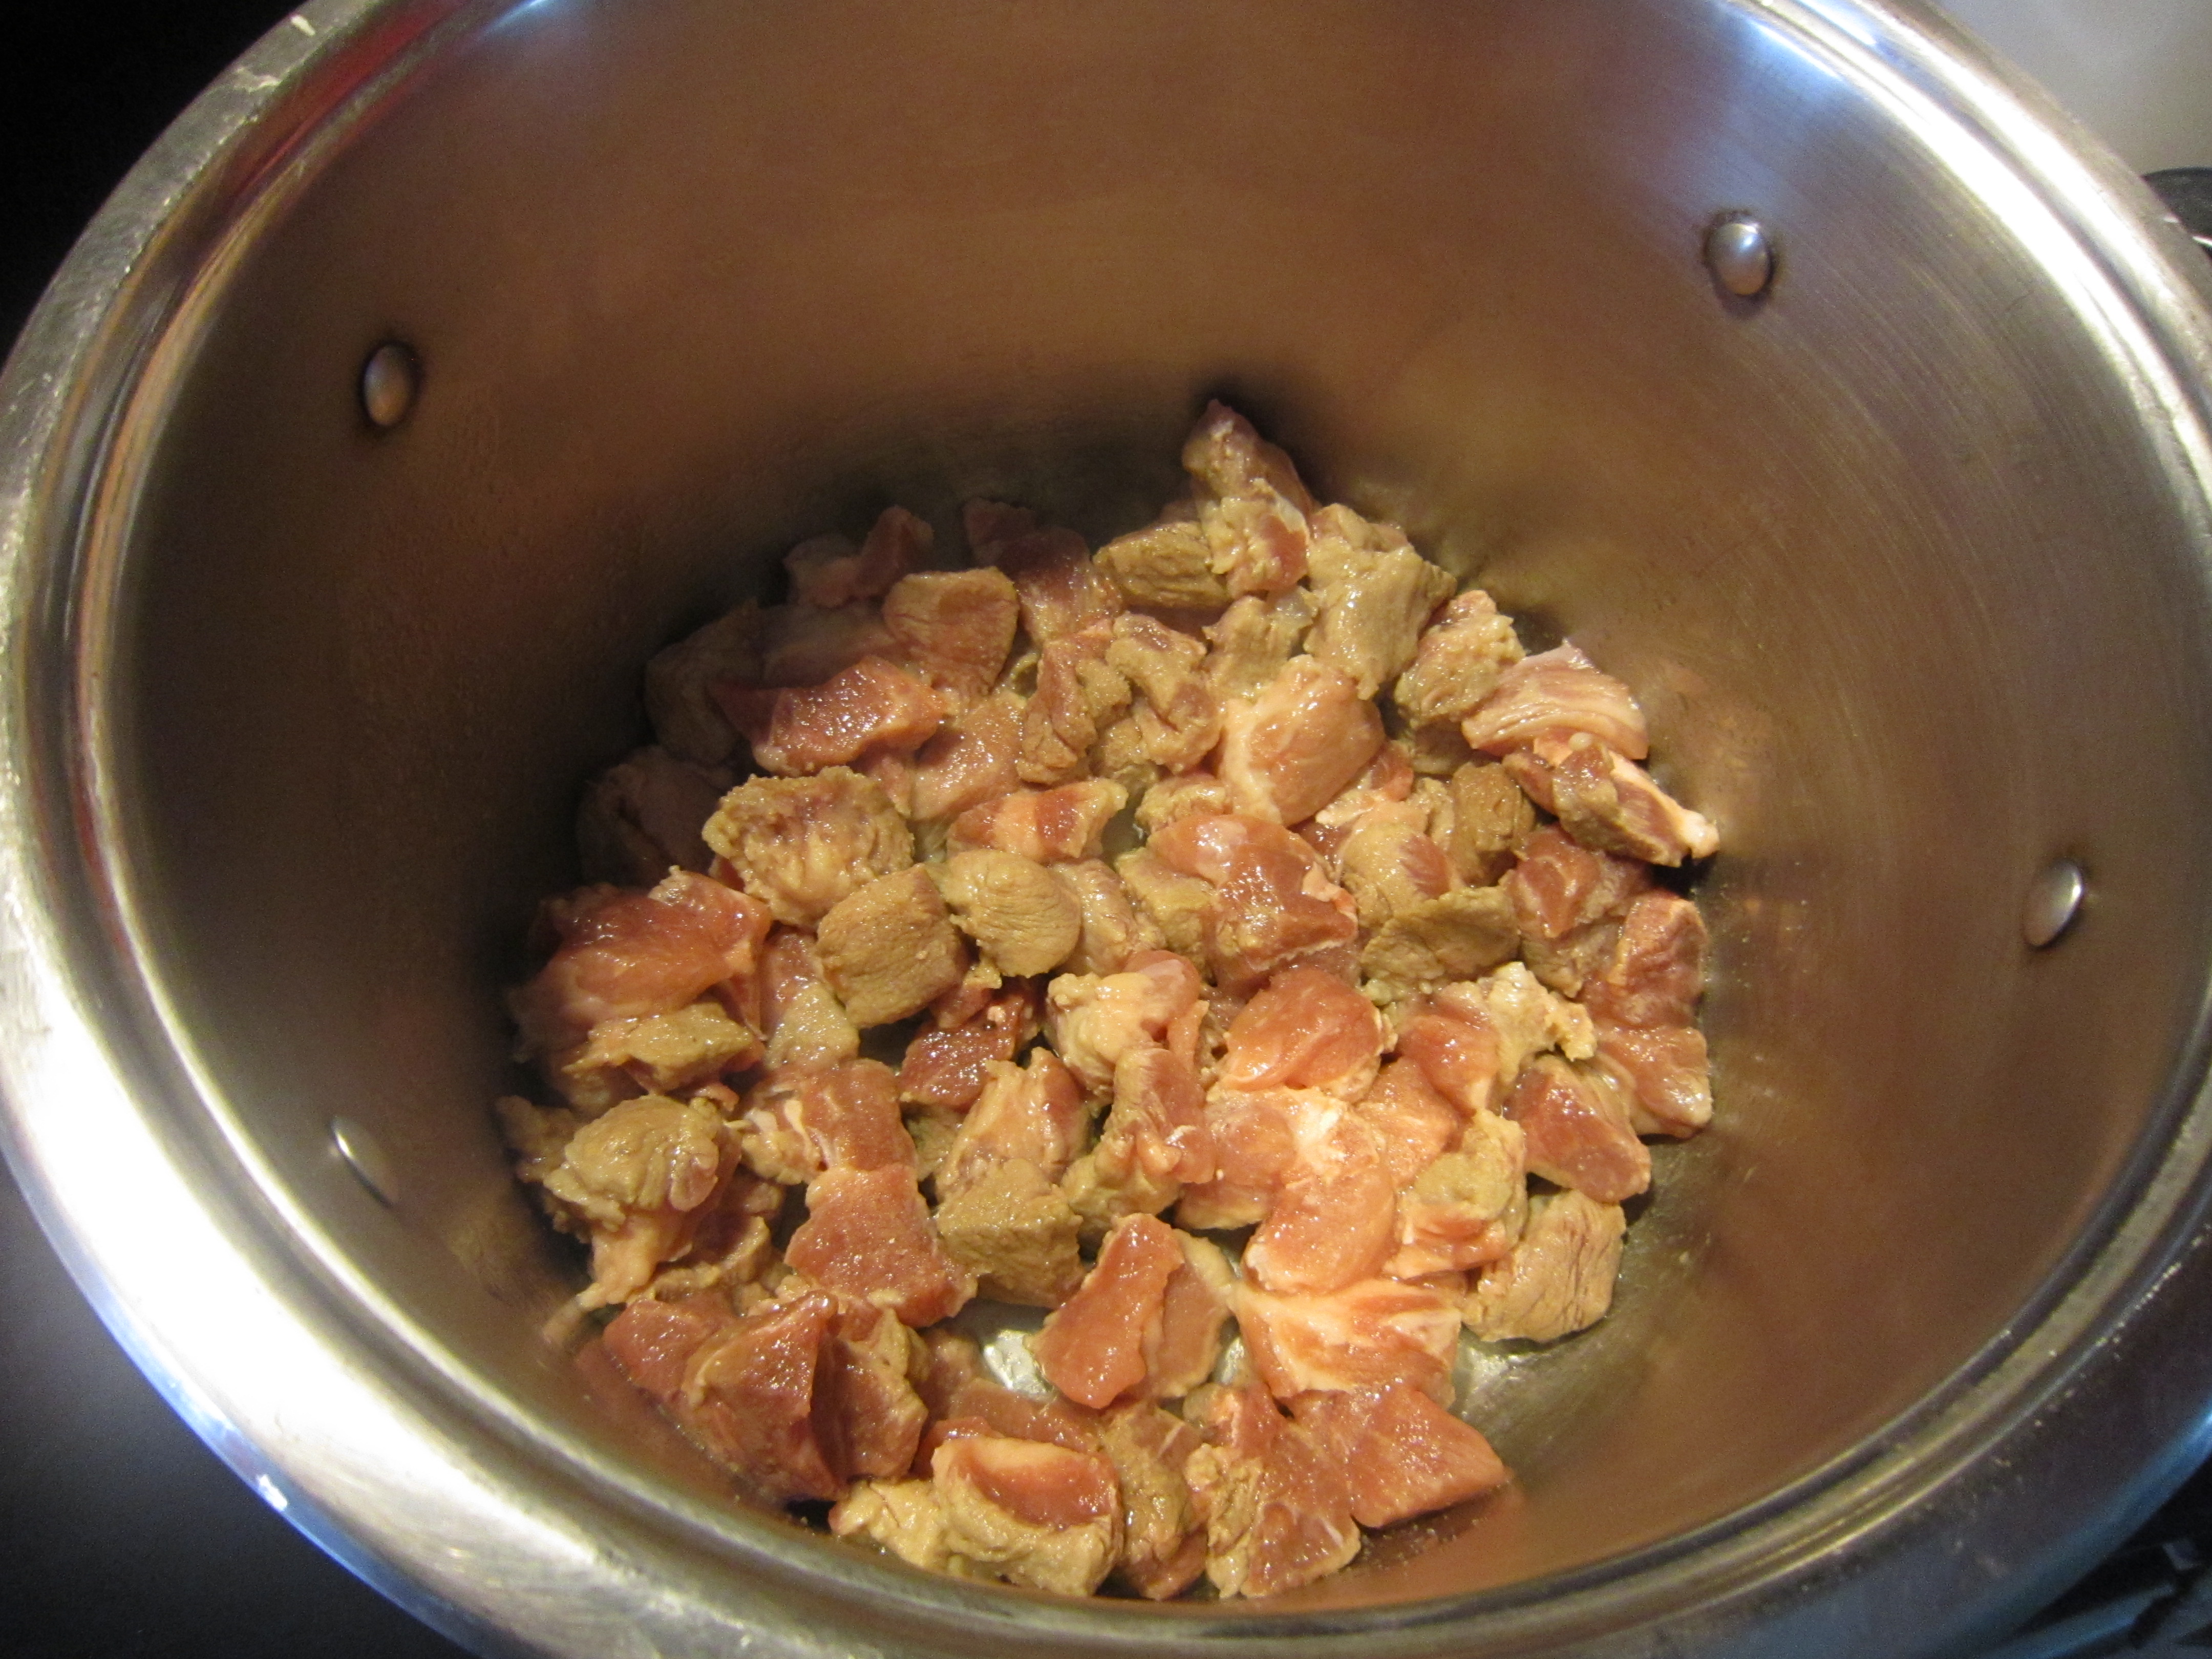
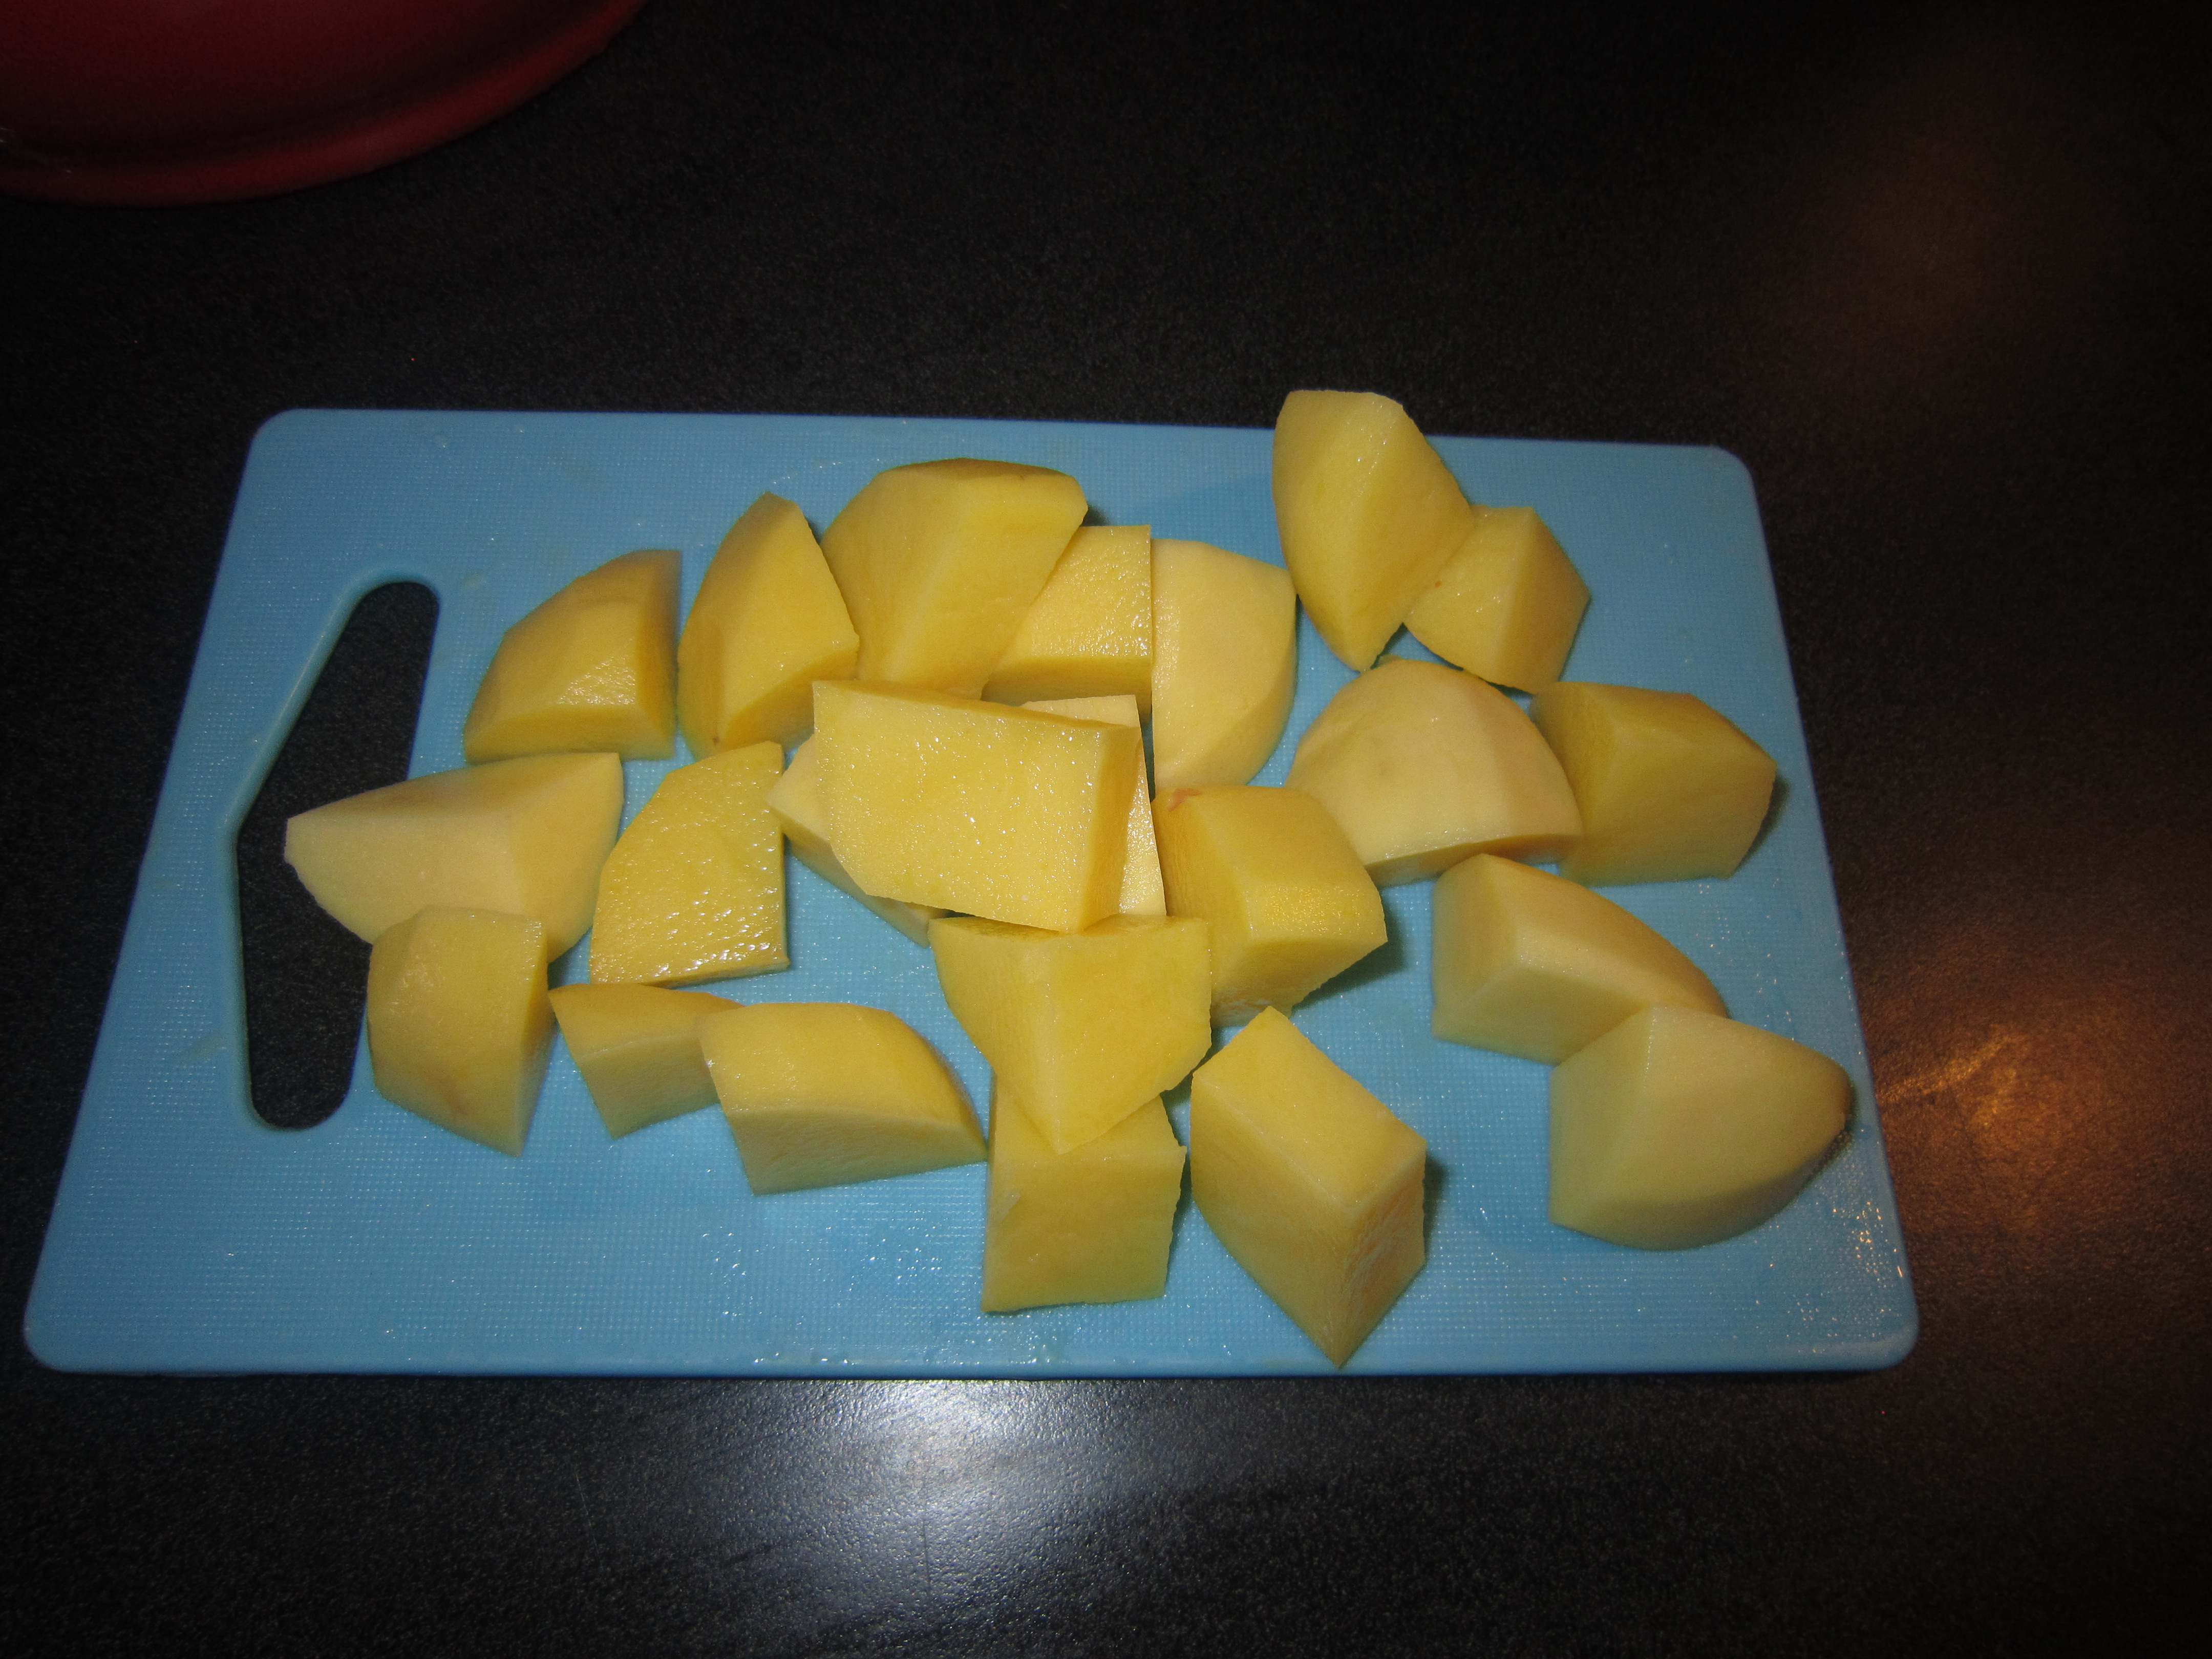
3) Heat 2 tablespoons of oil in a large pot, on Medium-High heat(I did 6.0). Throw in the meat, season it with salt and pepper, and stir. Meanwhile cut your potatoes into about 1 inch cubes.

IMG_0806

IMG_0819

4) Keep cooking and stirring the meat until it looks well cooked. Then add in the 2 tablespoons of butter.

5) Fill an electric tea kettle all the way with water and turn it on. (Bringing it to a boil.)

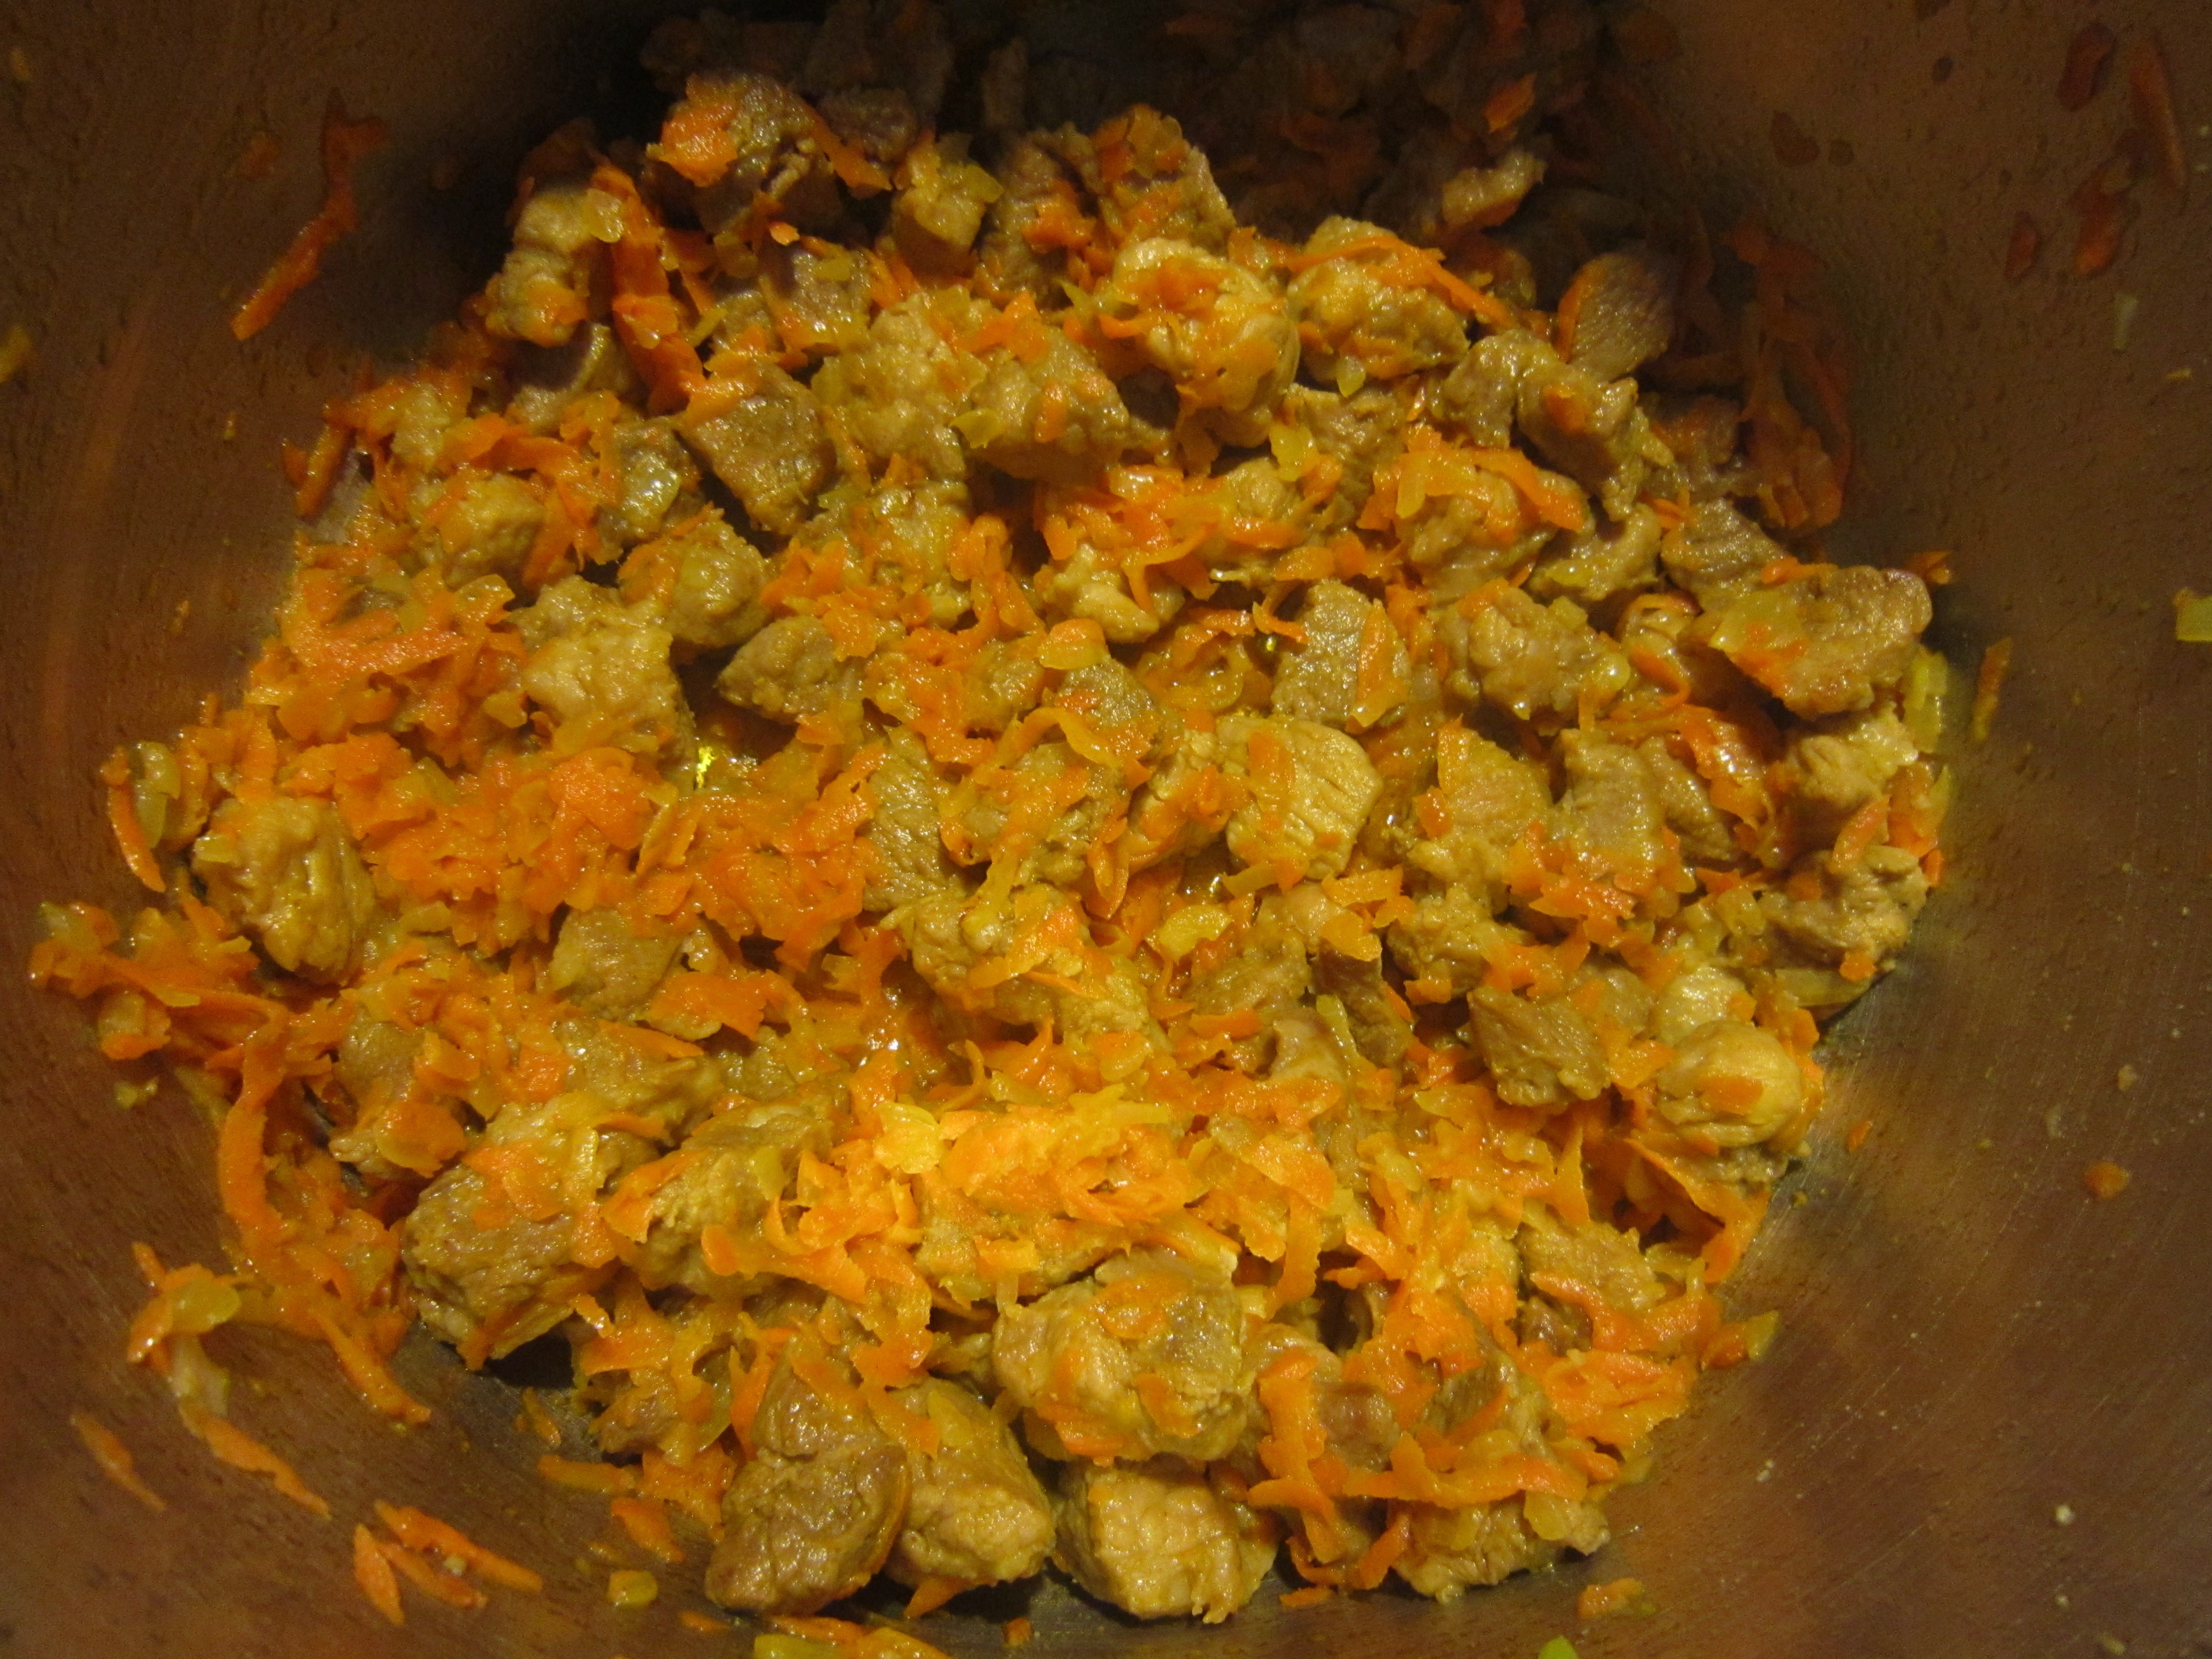
6) Next throw in the onion and carrots into the pot. Mix very well. Then add the Paprika, Garlic powder, Mrs.Dash, and some more salt and pepper.

IMG_0822

7) Mix well, then add the 3 Tablespoons of ketchup and mix. (Organic ketchup tastes best). Add the 2 Bay leaves and mix again.

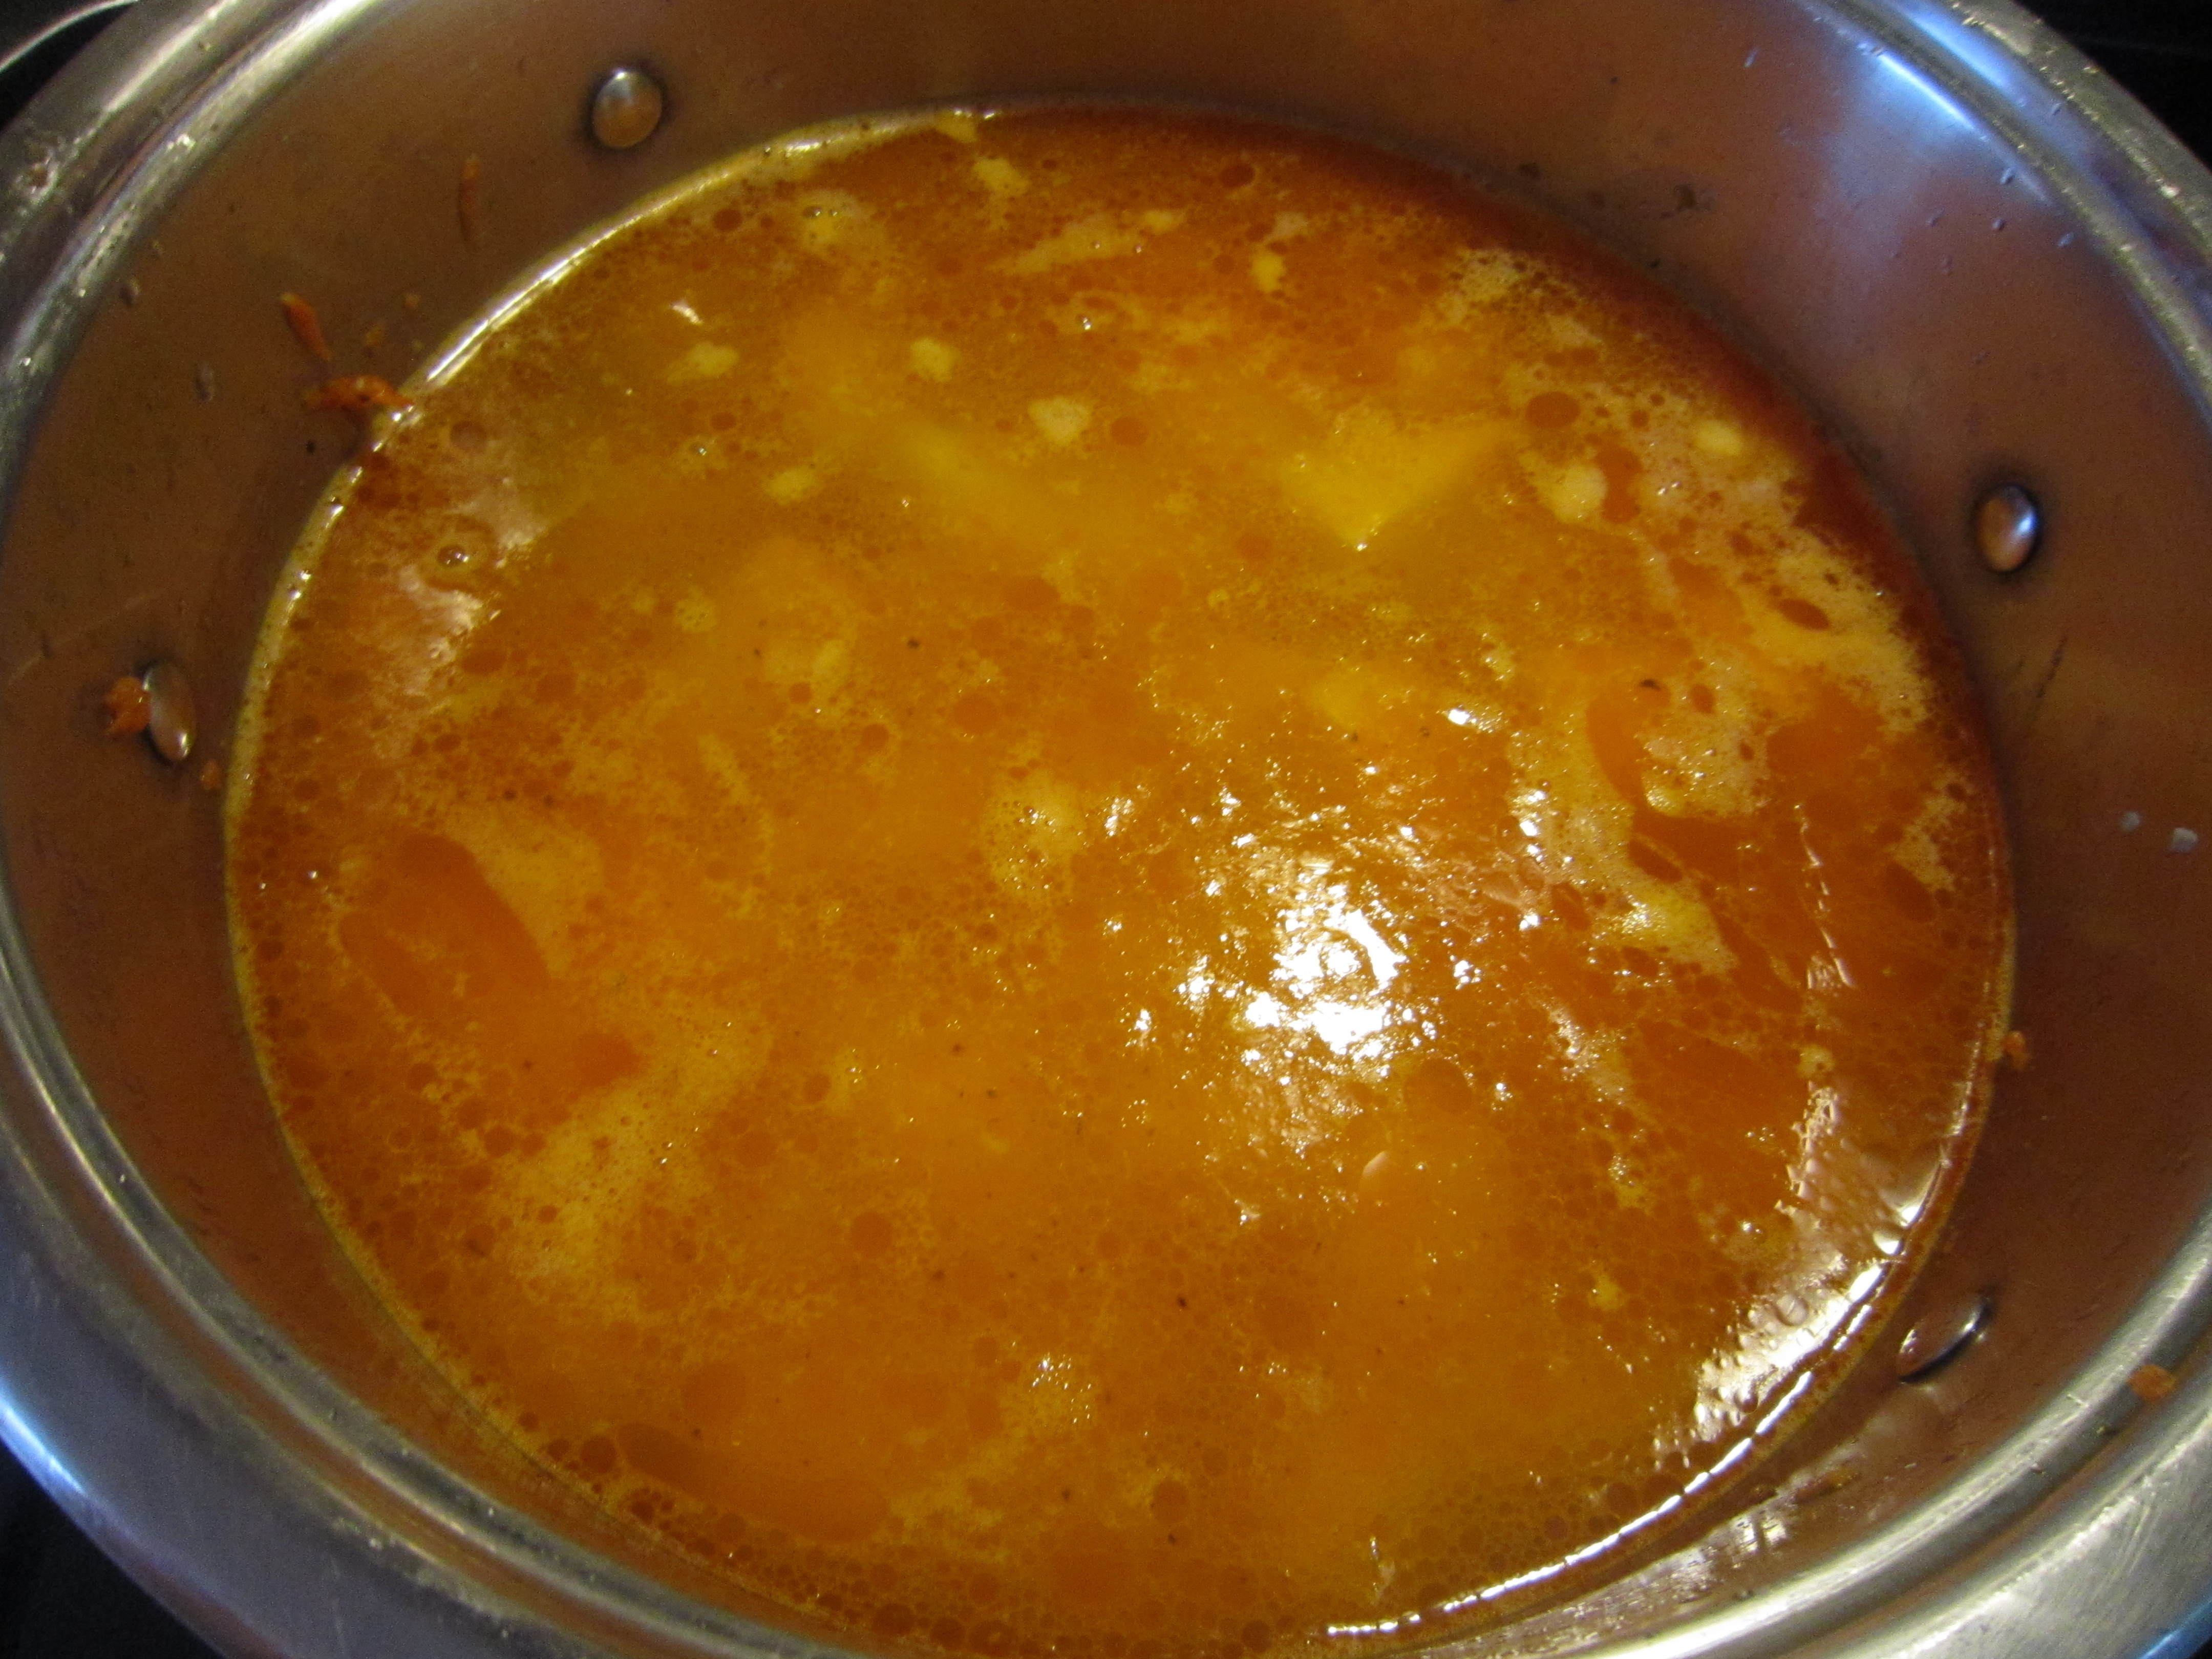
8) Add the potatoes to the pot. DO NOT stir. Keep the potatoes on top of the meat mix. It is important for the potatoes to stay on top so that they do not turn soft and end up like mashed potatoes. Fill your pot with the boiled water from the tea kettle, Just enough water to fully cover the potatoes. *If you need to boil a little more water in the tea kettle then do so, and add it to the pot.*

IMG_0827

9) Bring it to a boil and then turn the heat down to a low setting. (I did a 3).

10) Cover the pot and simmer for about 25 to 30 Minutes, until the potatoes are cooked through and soft. Meanwhile cut your parsley and dill. I only cut the parsley leaves, not the stems (Although some will still make their way into the pot lol), and I cut it very finely.Then peel your garlic cloves.

11) When the potatoes have about 8 minutes left to cook, open the pot. Add in the parsley, and minced garlic. Lastly throw in the dill. Cover the pot back up, until the potatoes have cooked through. When it is ready, very gently mix it.

*Note: Some people add less water, so just enough to cover the potatoes. But this is the way I grew up eating braised potatoes, and I always enjoyed the delicious gravy that the potatoes and meat make on their own.*

DSCN2312

Meatball Soup

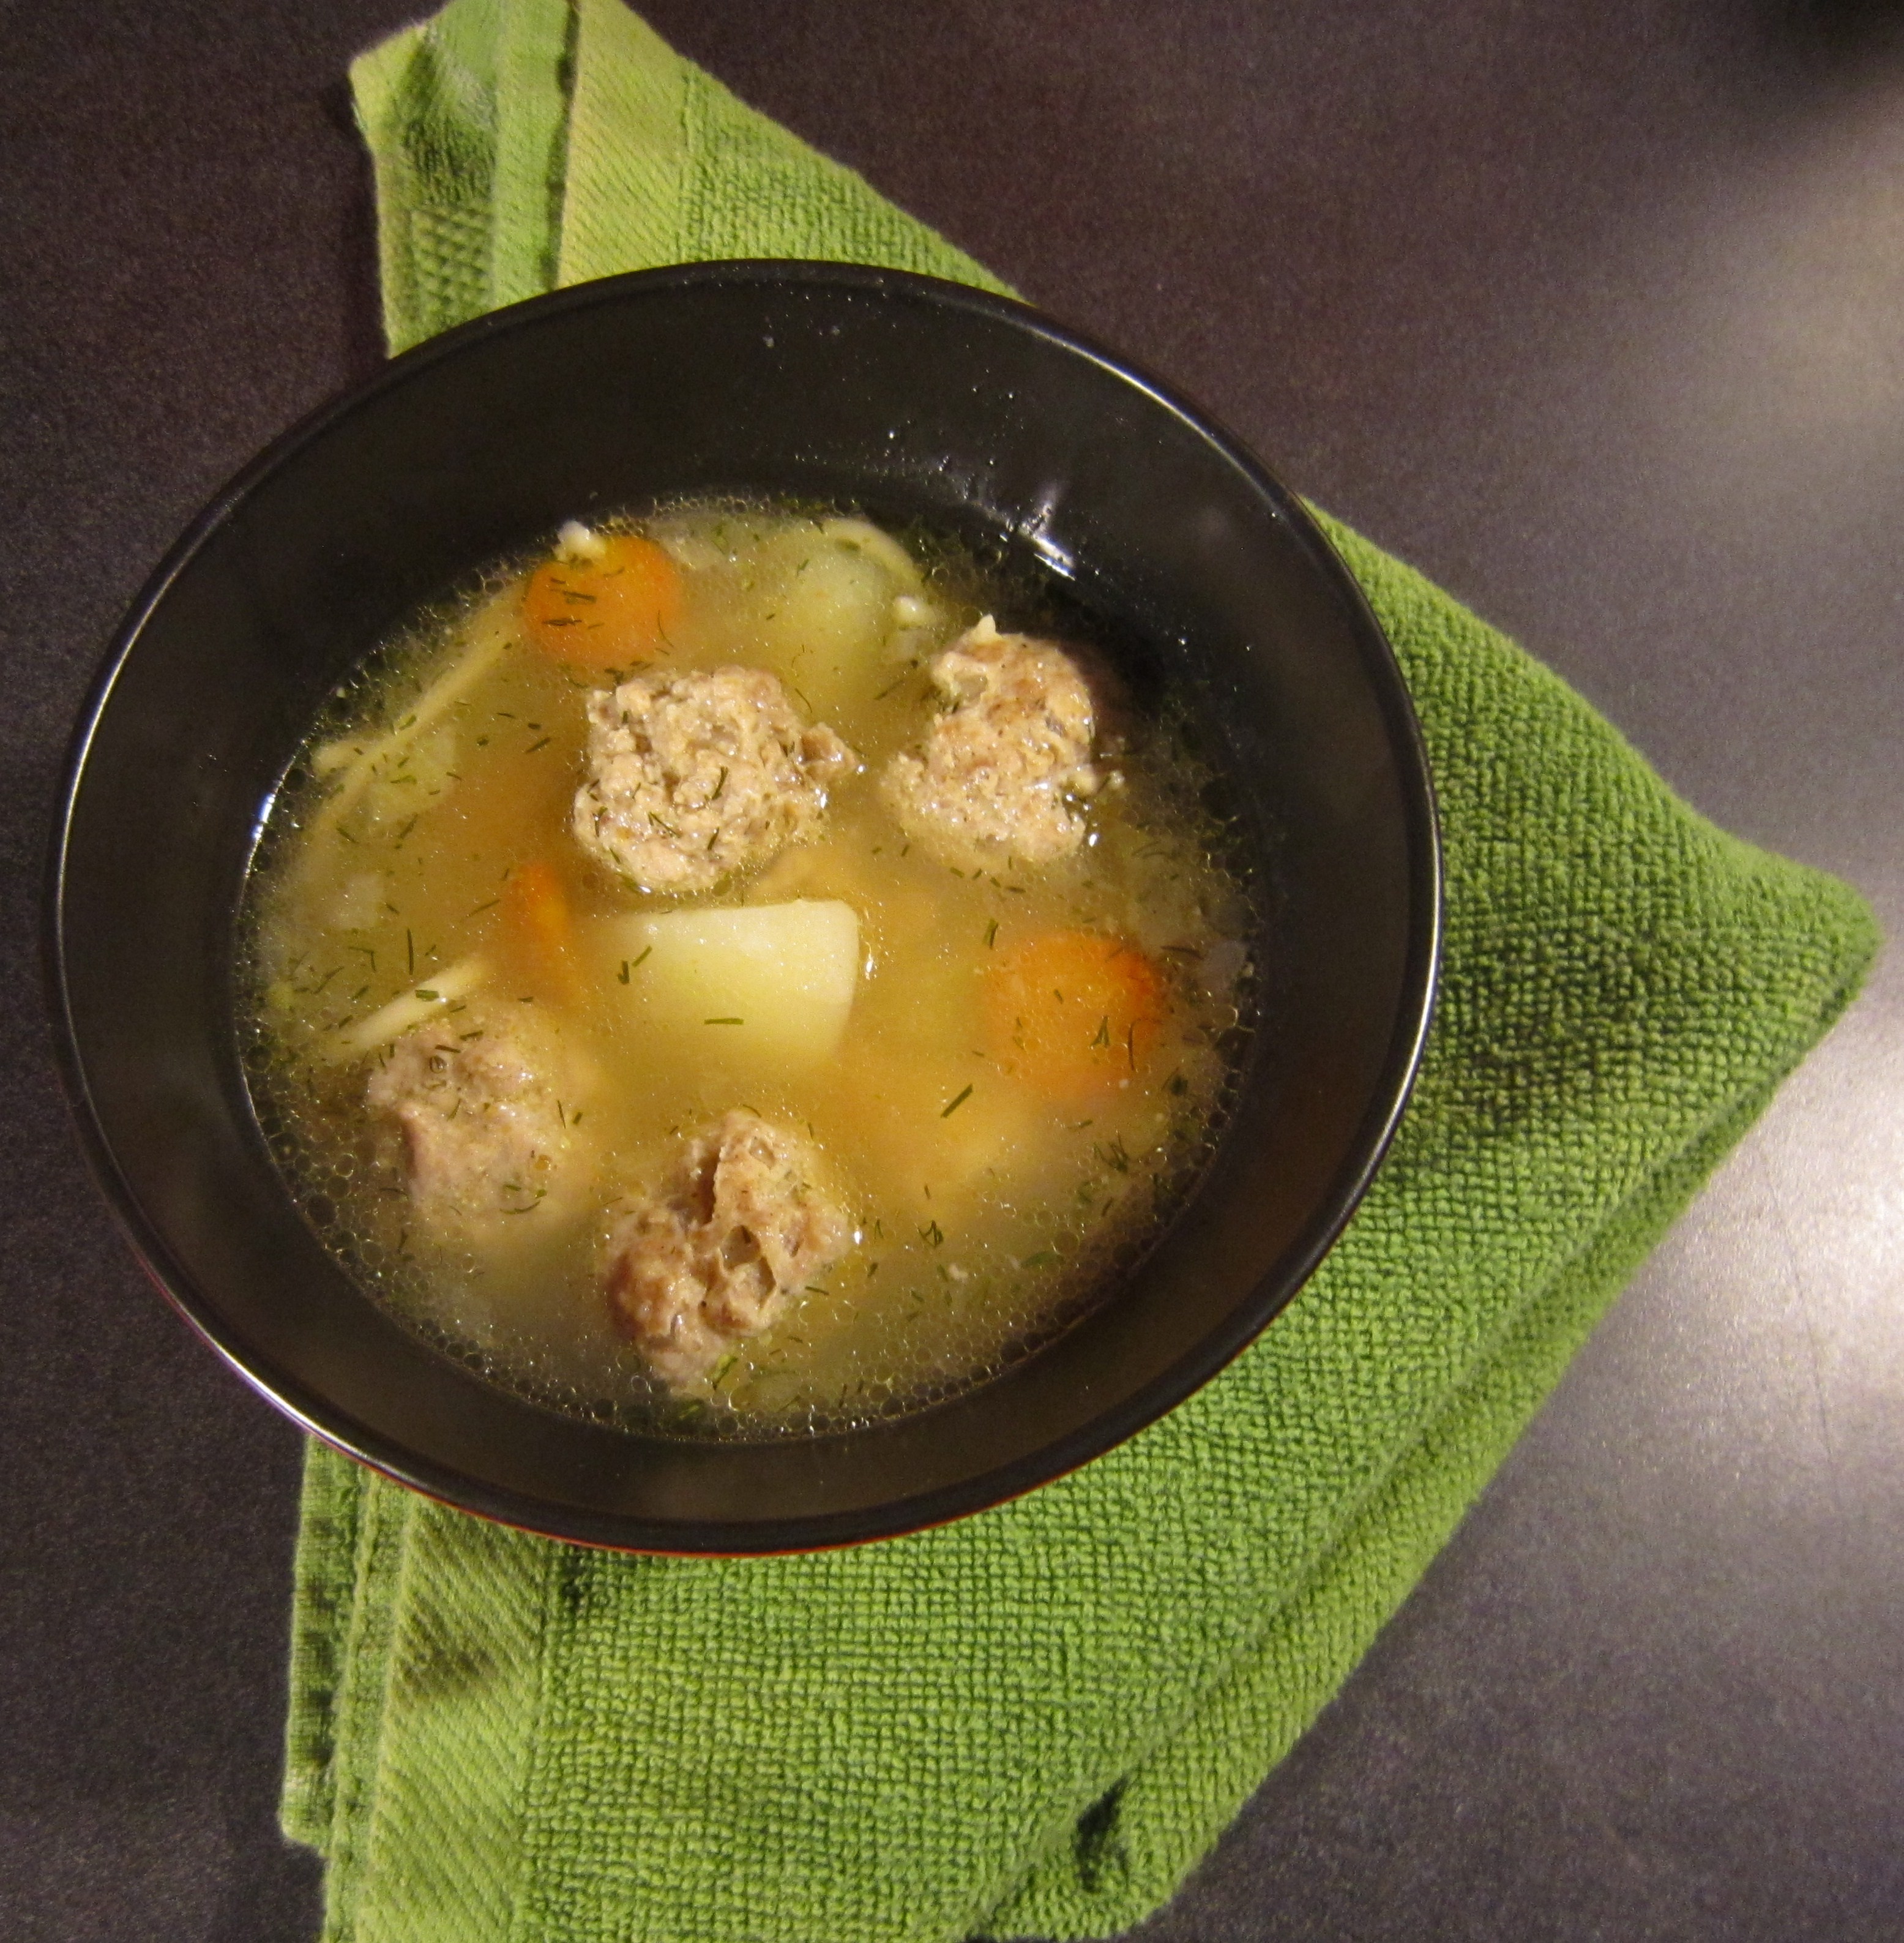
IMG_0463

Hot fresh home made soup Mmmm there is nothing more comforting to eat after a long, cold day. This soup is so easy to make and not as time consuming as most other soups. It’s a very traditional Russian/Ukrainian soup. I make it for my family at least once a month. Even my 2 year old son enjoys it, well mostly he picks out the meatballs lol but I don’t blame him because that’s my favorite part of the soup too. I usually use ground Turkey for this recipe but some people preffer pork. There won’t really be a big difference. I just preffer turkey because we don’t eat much pork. Next time you are in the mood for some yummy home made soup that is easy and fast to make, this is the recipe you are looking for.

Meatball Soup  {10-12}

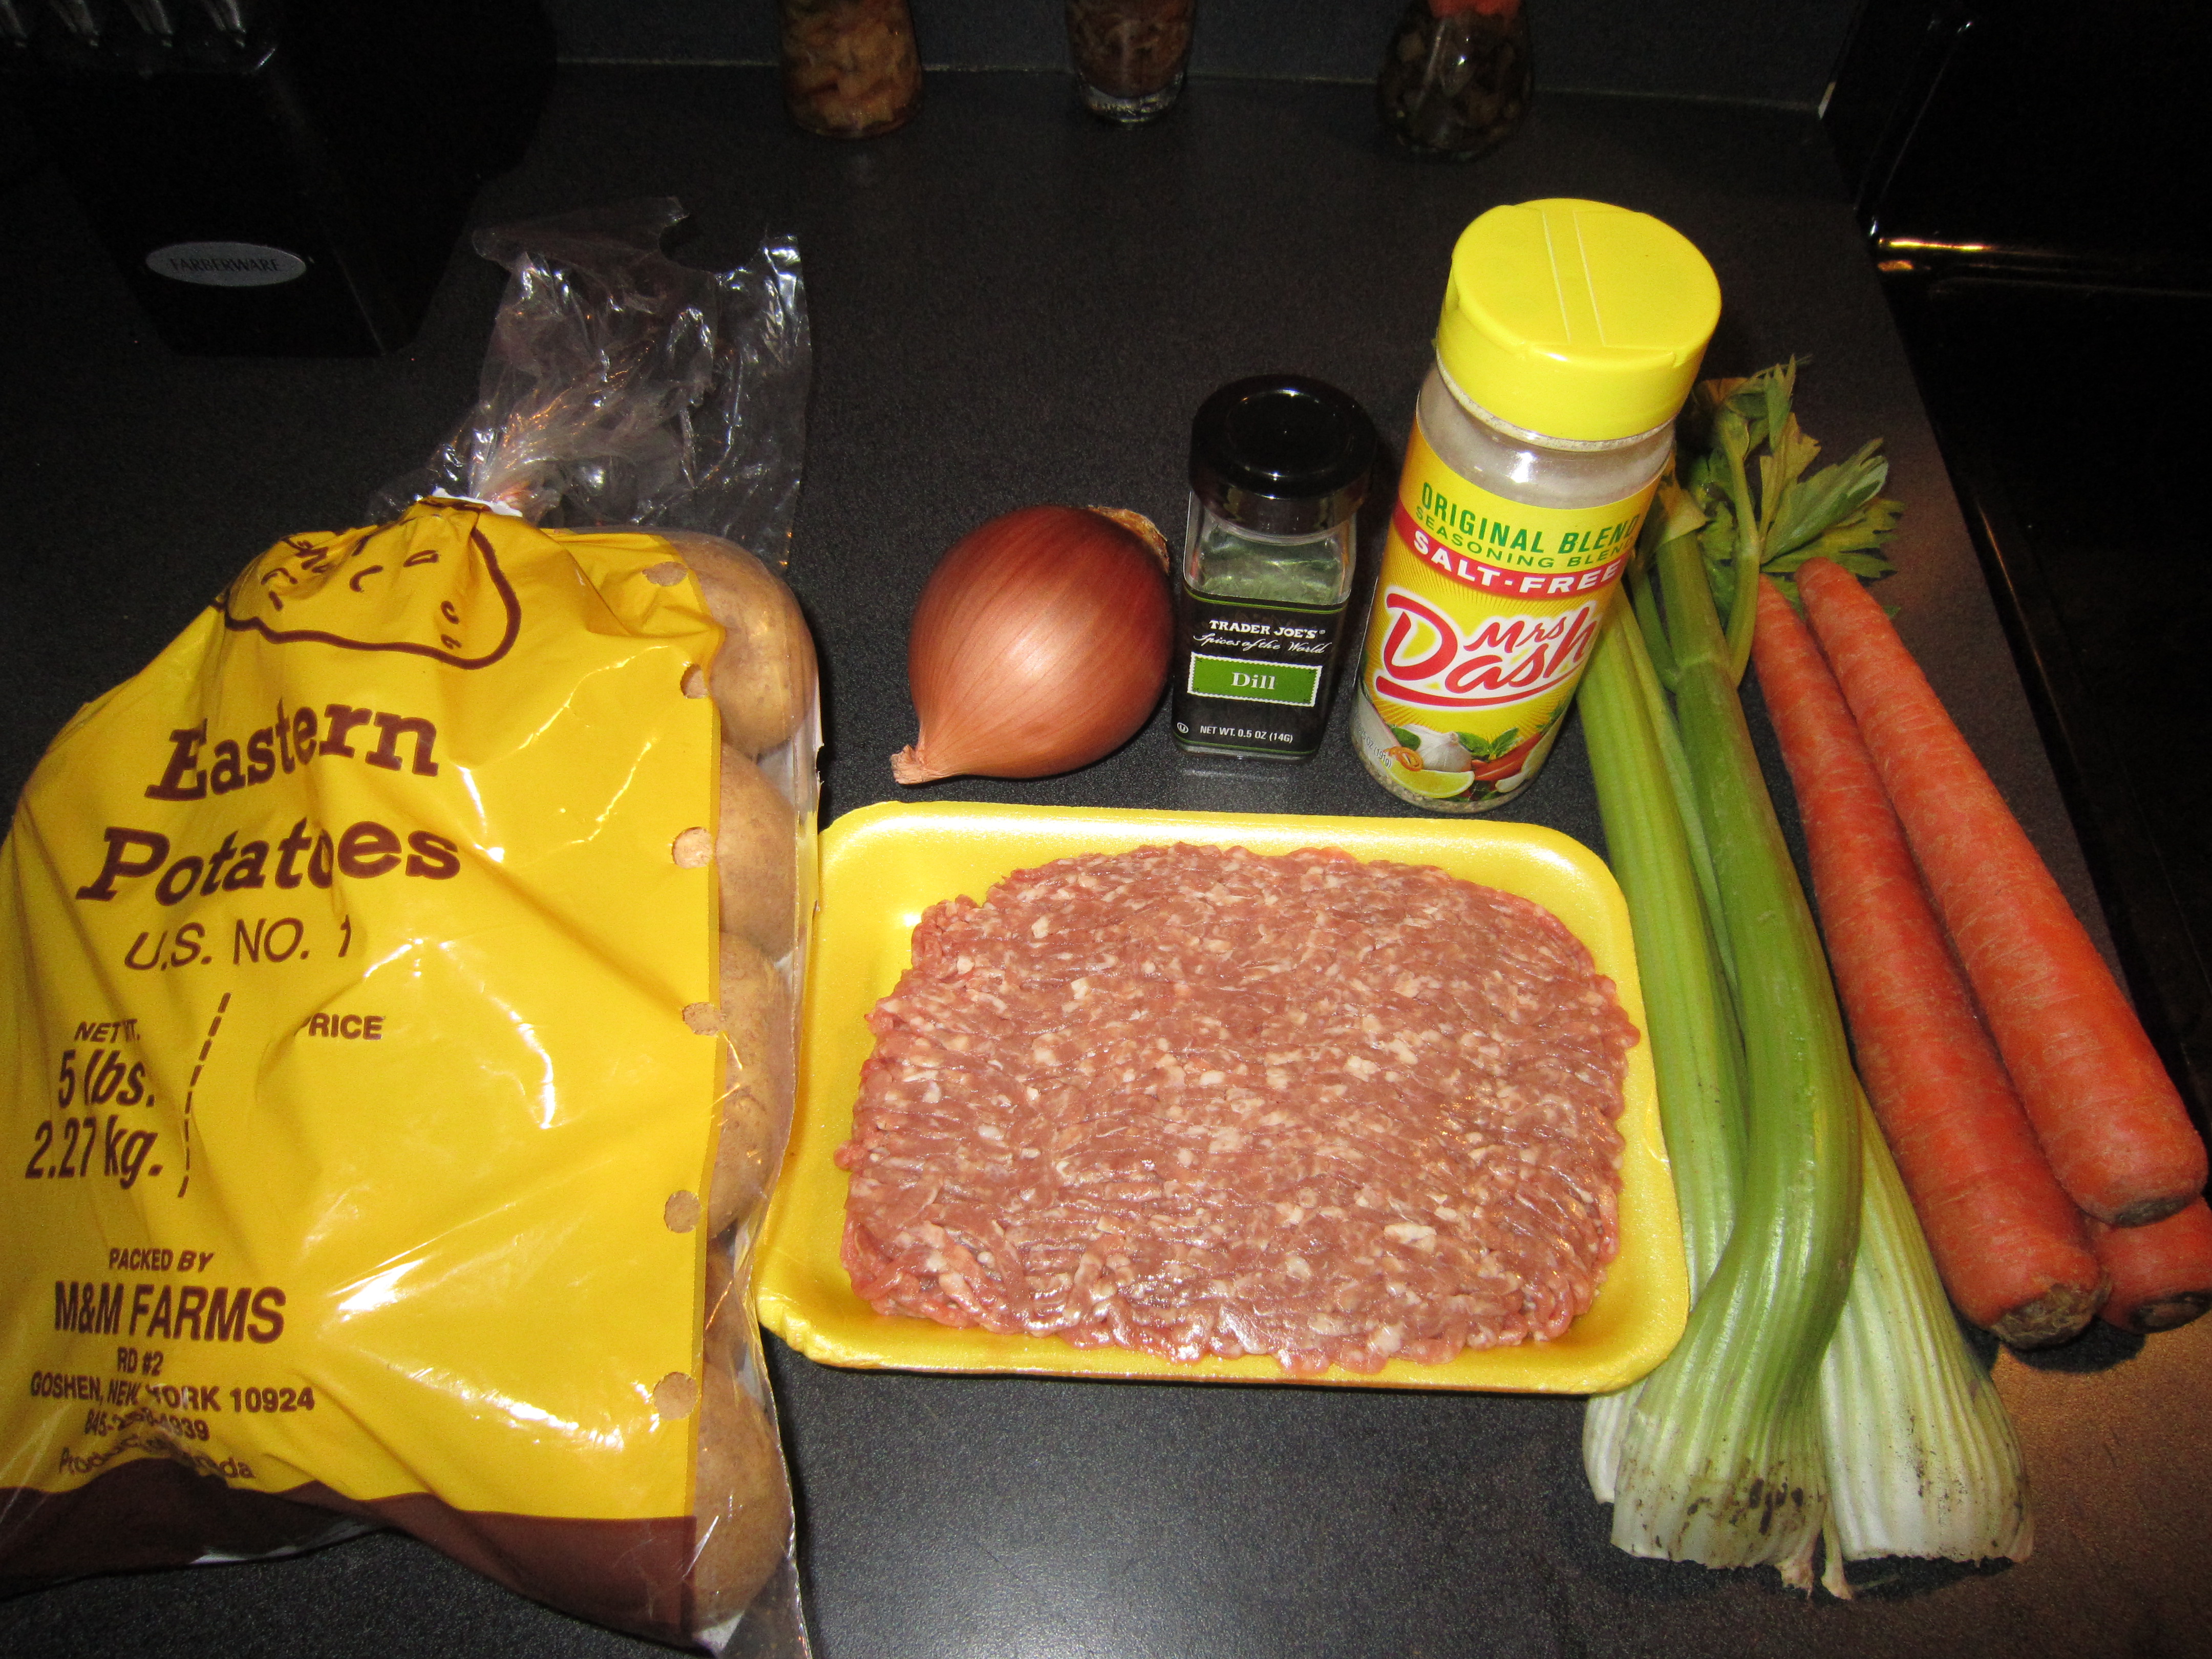
Ingredients for the soup:   

  • 16 Cups filtered water
  • 1 Large onion
  • 3 Carrots
  • 8 potatoes
  • Dry or Fresh Dill (I use Trader Joe’s dry dill, 1 1/4 teaspoons or 1/2 bunch fresh dill)
  • 3 Celery ribs (1 cup), finely diced
  • 2 Tablespoons of Vegetable oil
  • 3/4 Cup of pasta (I use regular Spaghetti)
  • 1 Tablespoons of Salt                                                                                                                                                                                                                     Ingredients for the Meatballs:
  • 2 LB Ground Meat (Turkey or Pork Or mix half and half of both)
  • 1 Egg
  • Mrs.Dash Original seasoning, 1 teaspoon
  • 1/4 teaspoon black pepper
  • 2 teaspoons of Salt

IMG_0417

Directions:

1) Fill a large pot with 16 cups of filtered water. Put the pot on High heat and bring it  to a boil.

2) While the water is coming to a boil, peel, wash, and dice the potatoes.

IMG_0425

3) Add the potatoes to the pot. Then when it comes to a boil, add the 1 Tablespoon of salt in and mix.

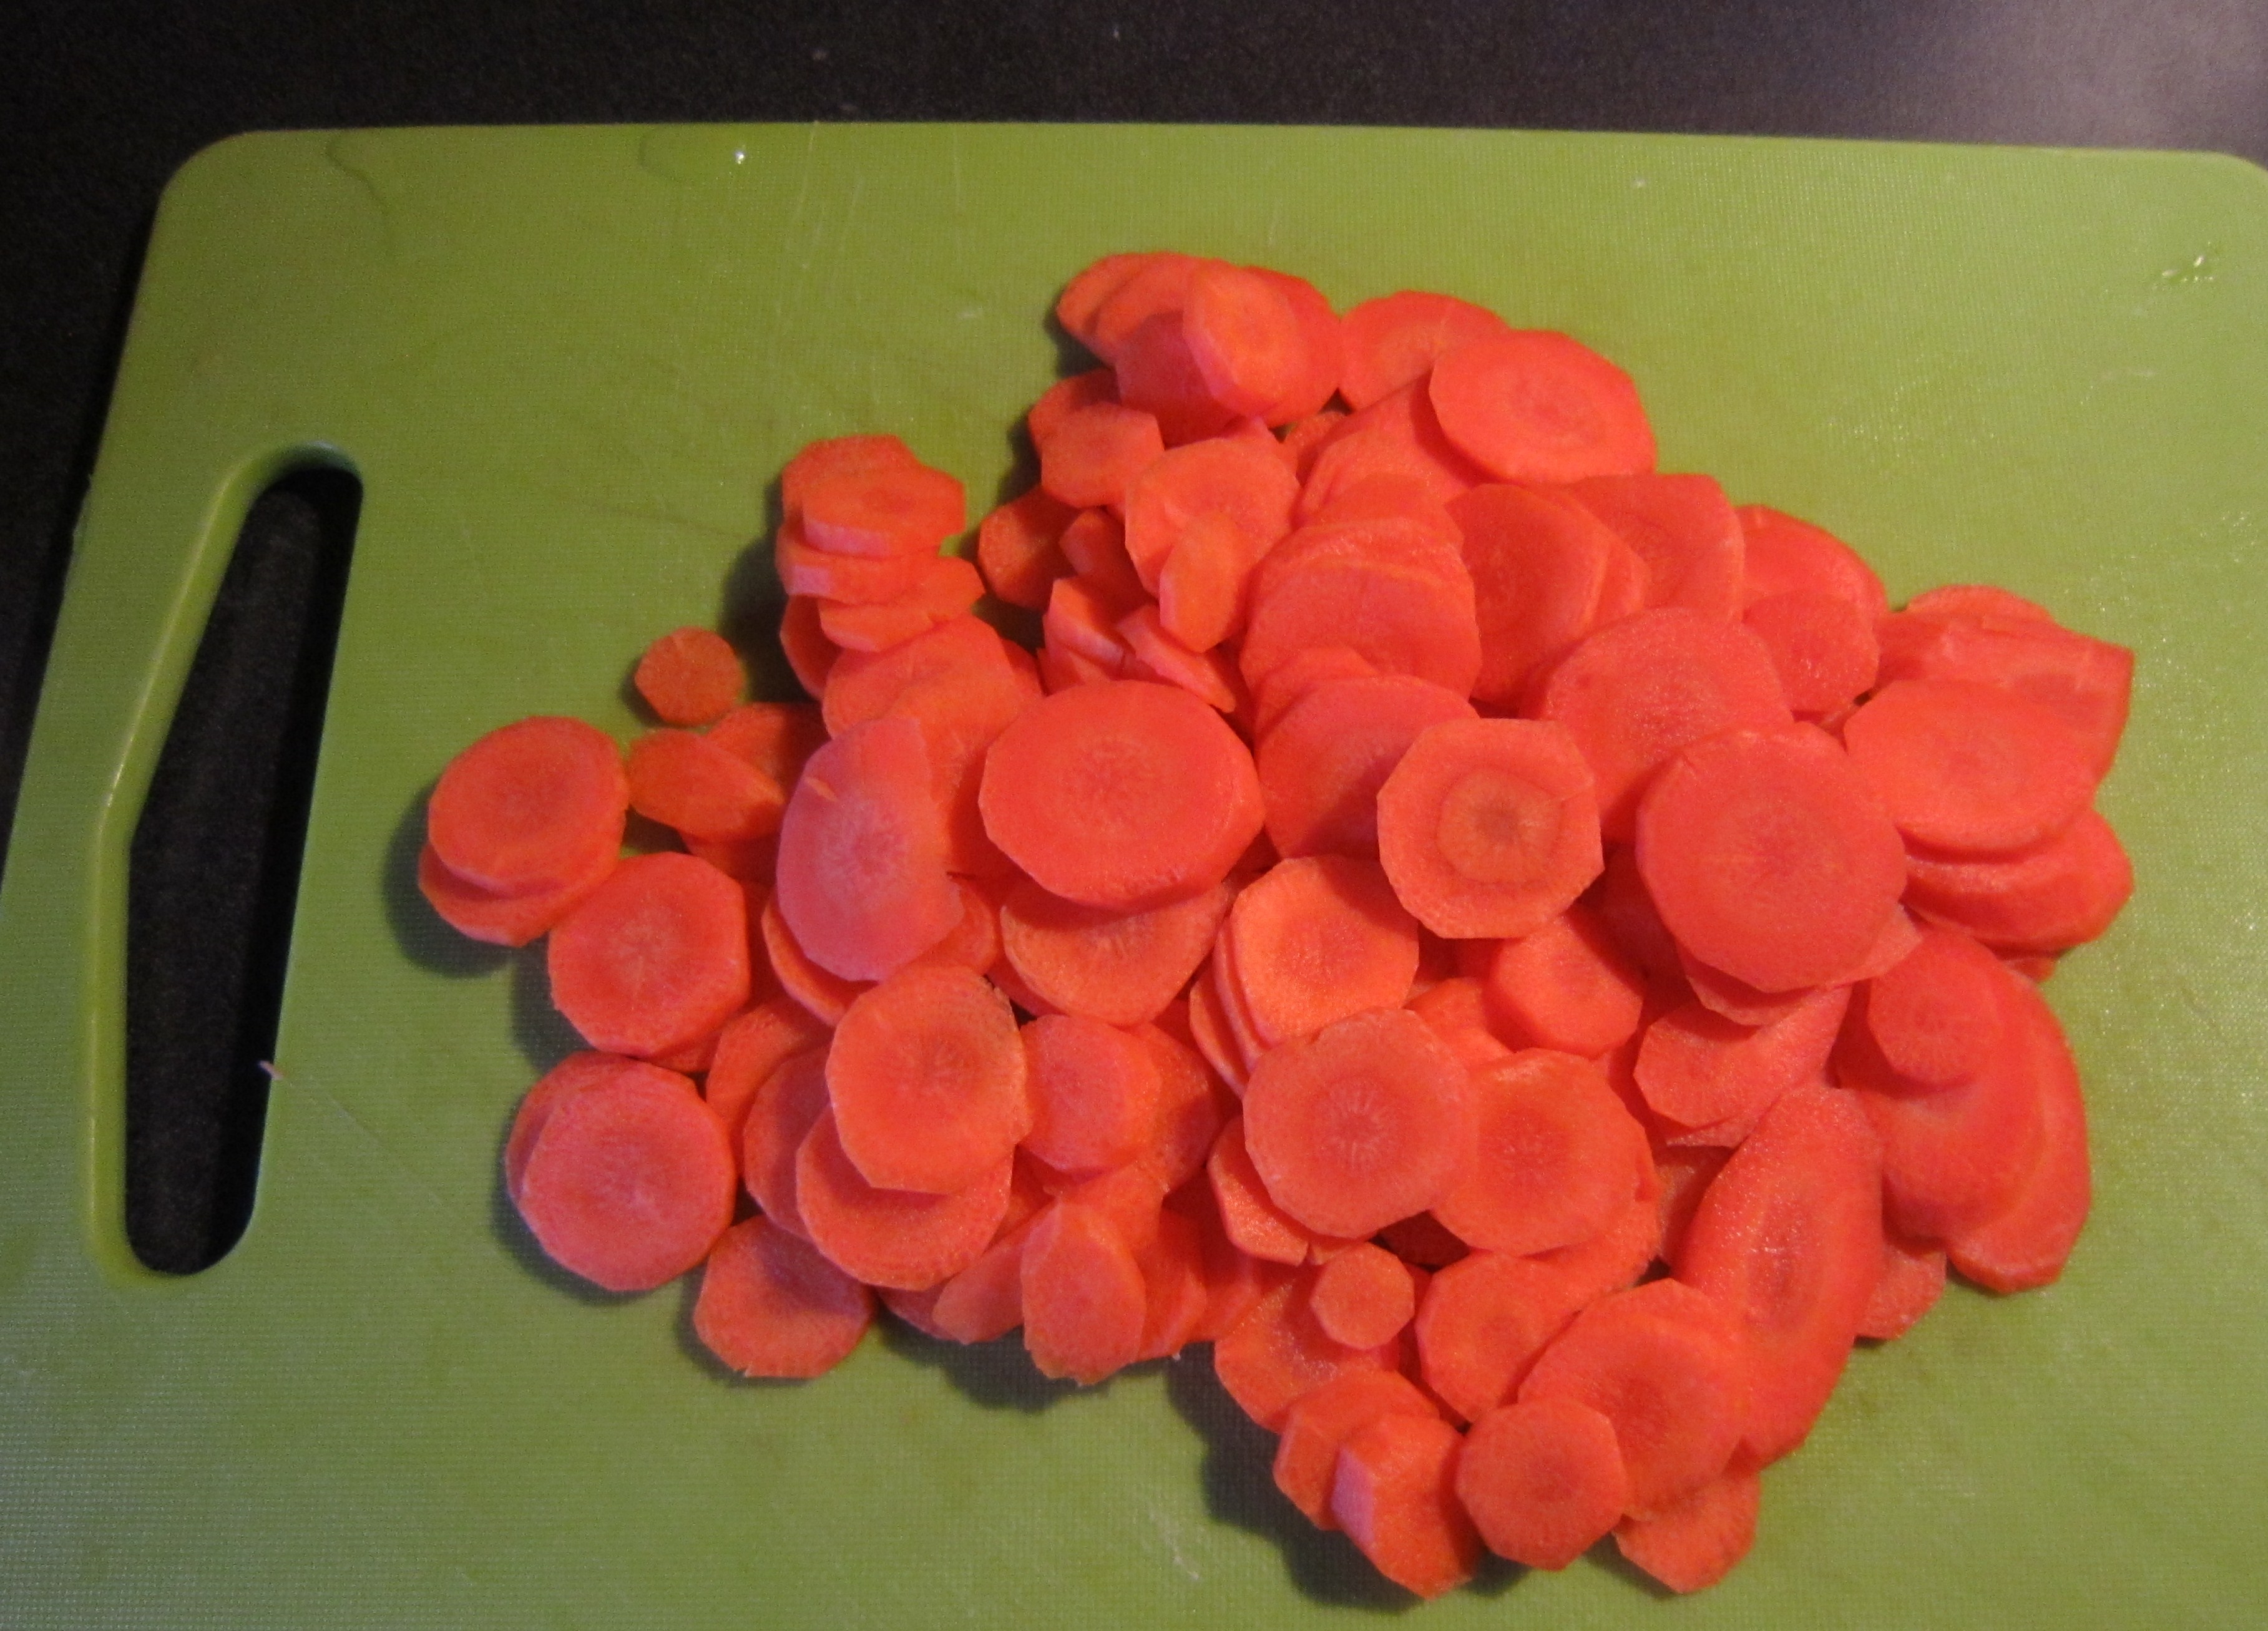
4) Then wash, peel, and thinly cut your carrots. As soon as you are done add them to the pot. Lower the heat to Medium-High (I had it on 8.0)

IMG_0429

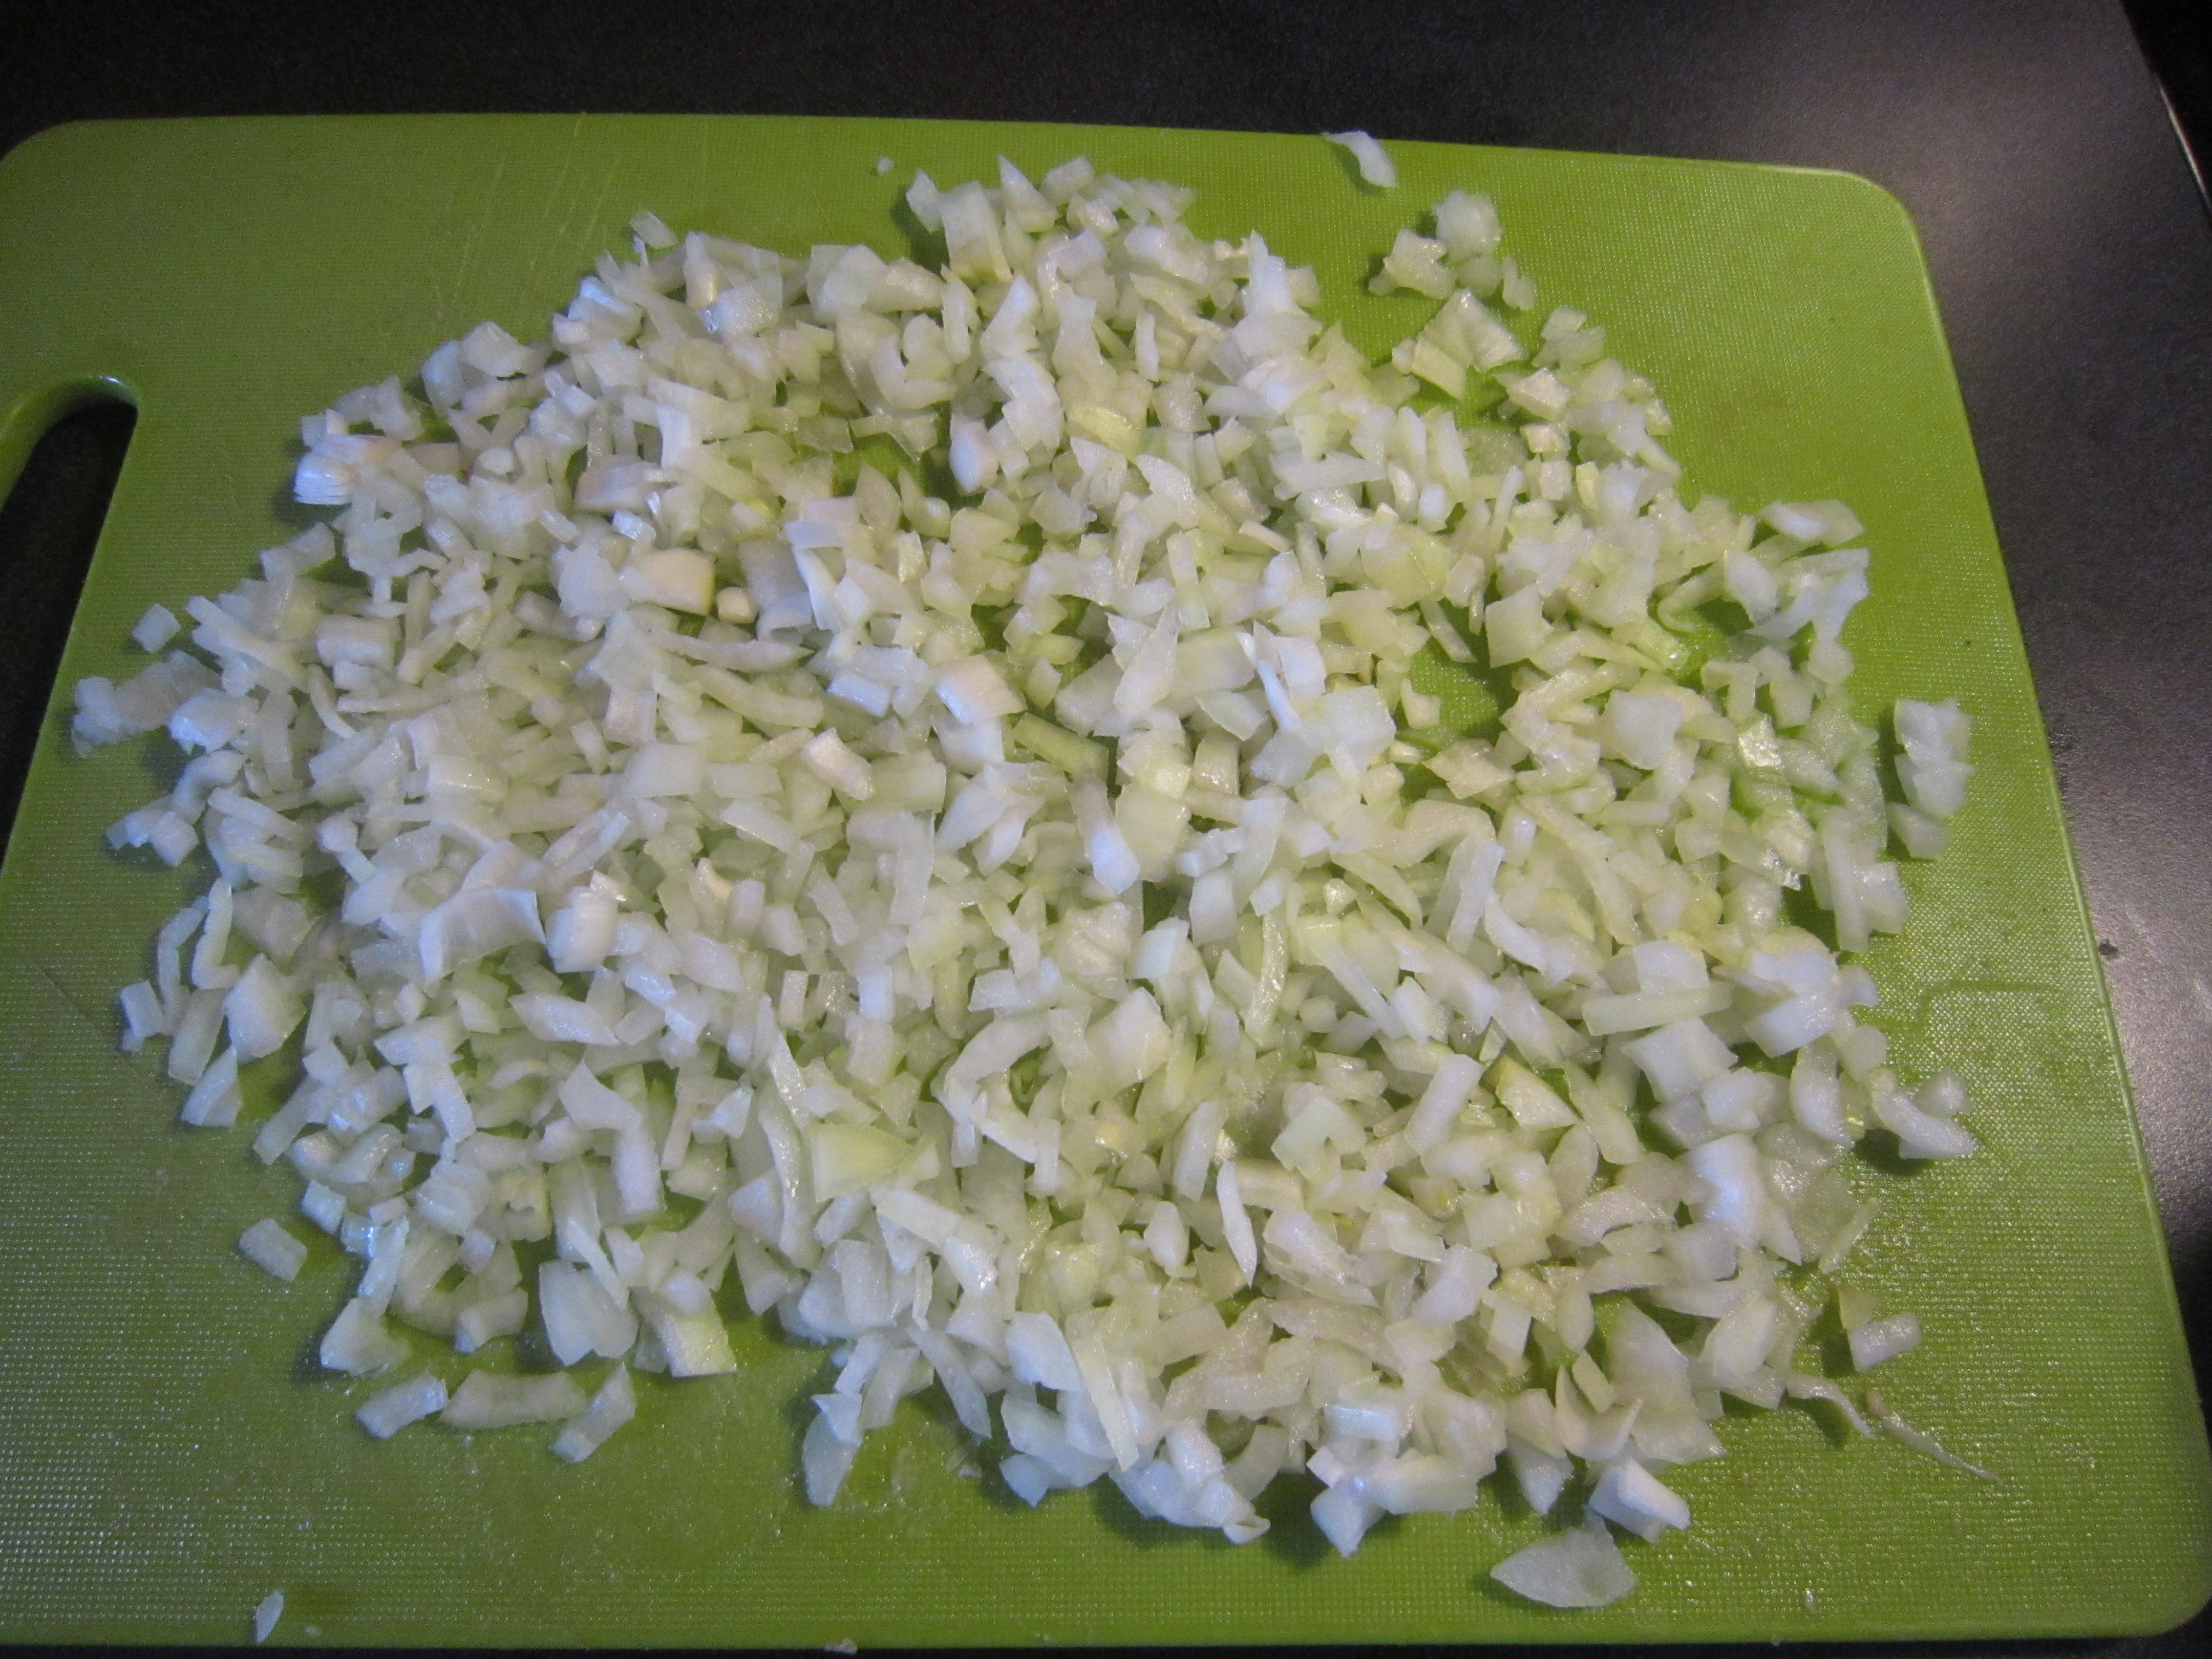
5) Finely cut your onion and divide it in half. You will need half to put into the meat mix and the other half to go into the soup. *Do NOT throw the onion in the pot just yet*

6) Put about 3/4 Cup of pasta into the pot. *I usually use regular Spaghetti, and I break it into 3 so that there wouldn’t be long strands of spaghetti but neat little pieces*

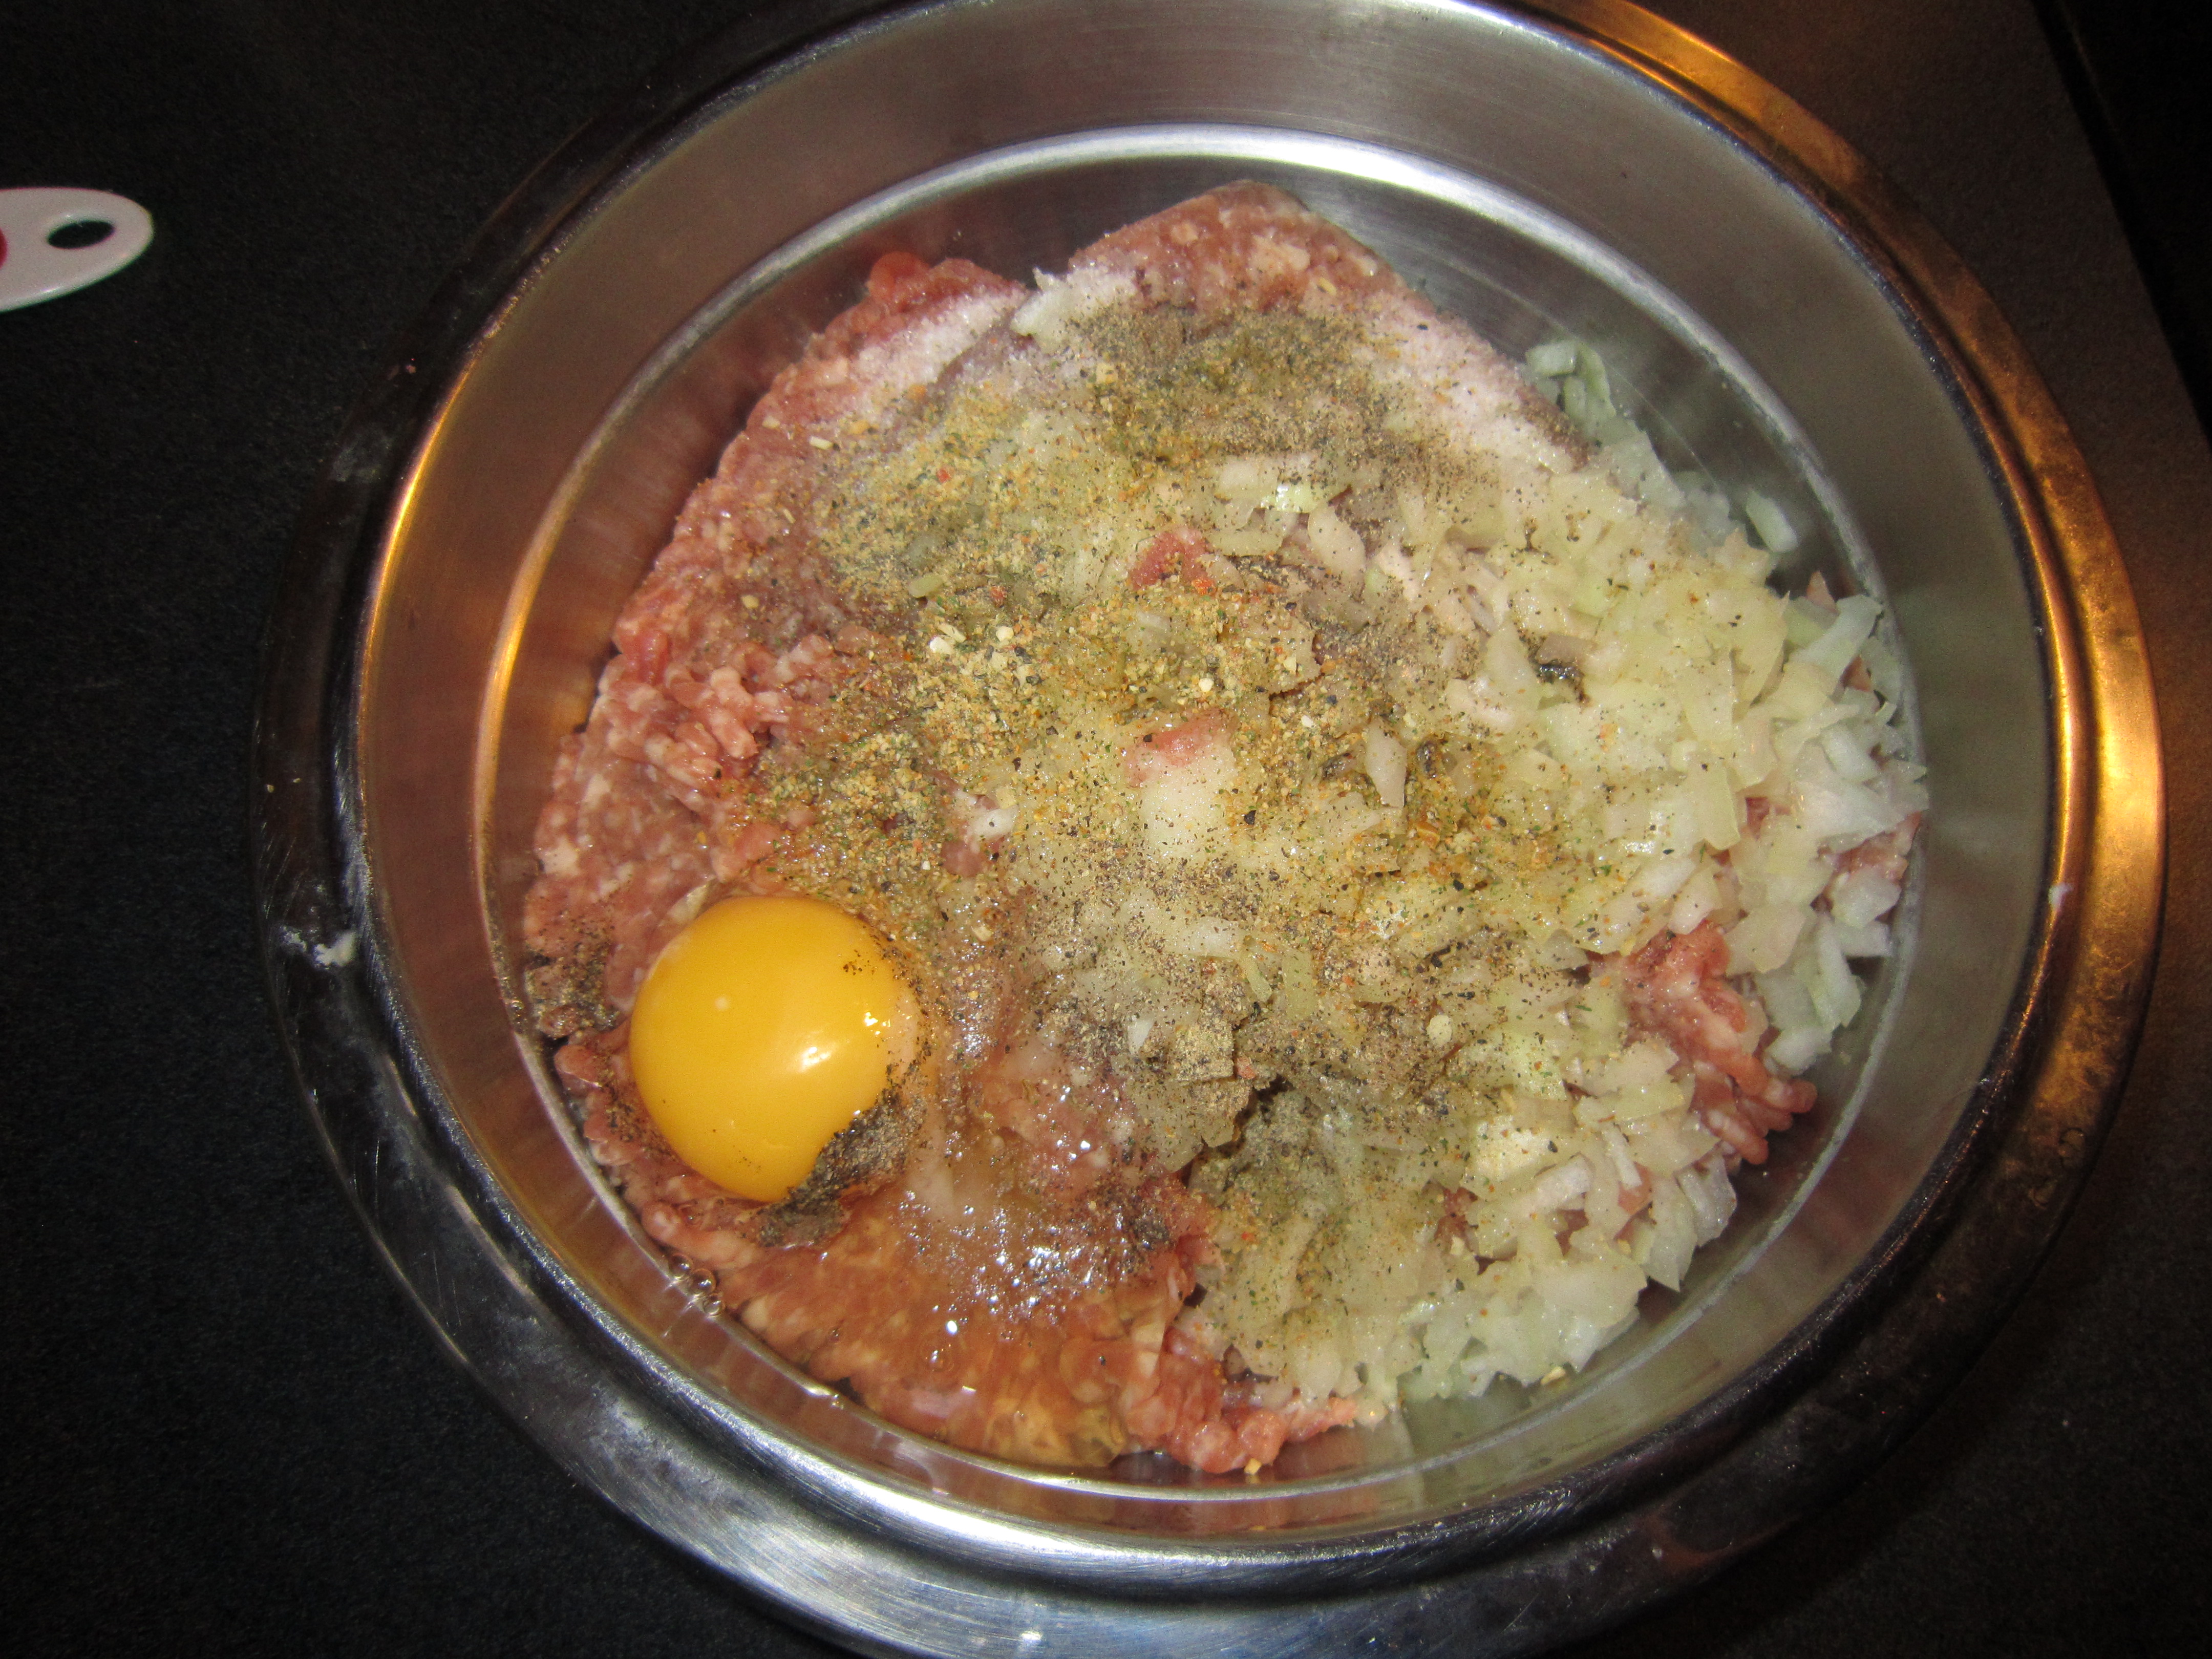
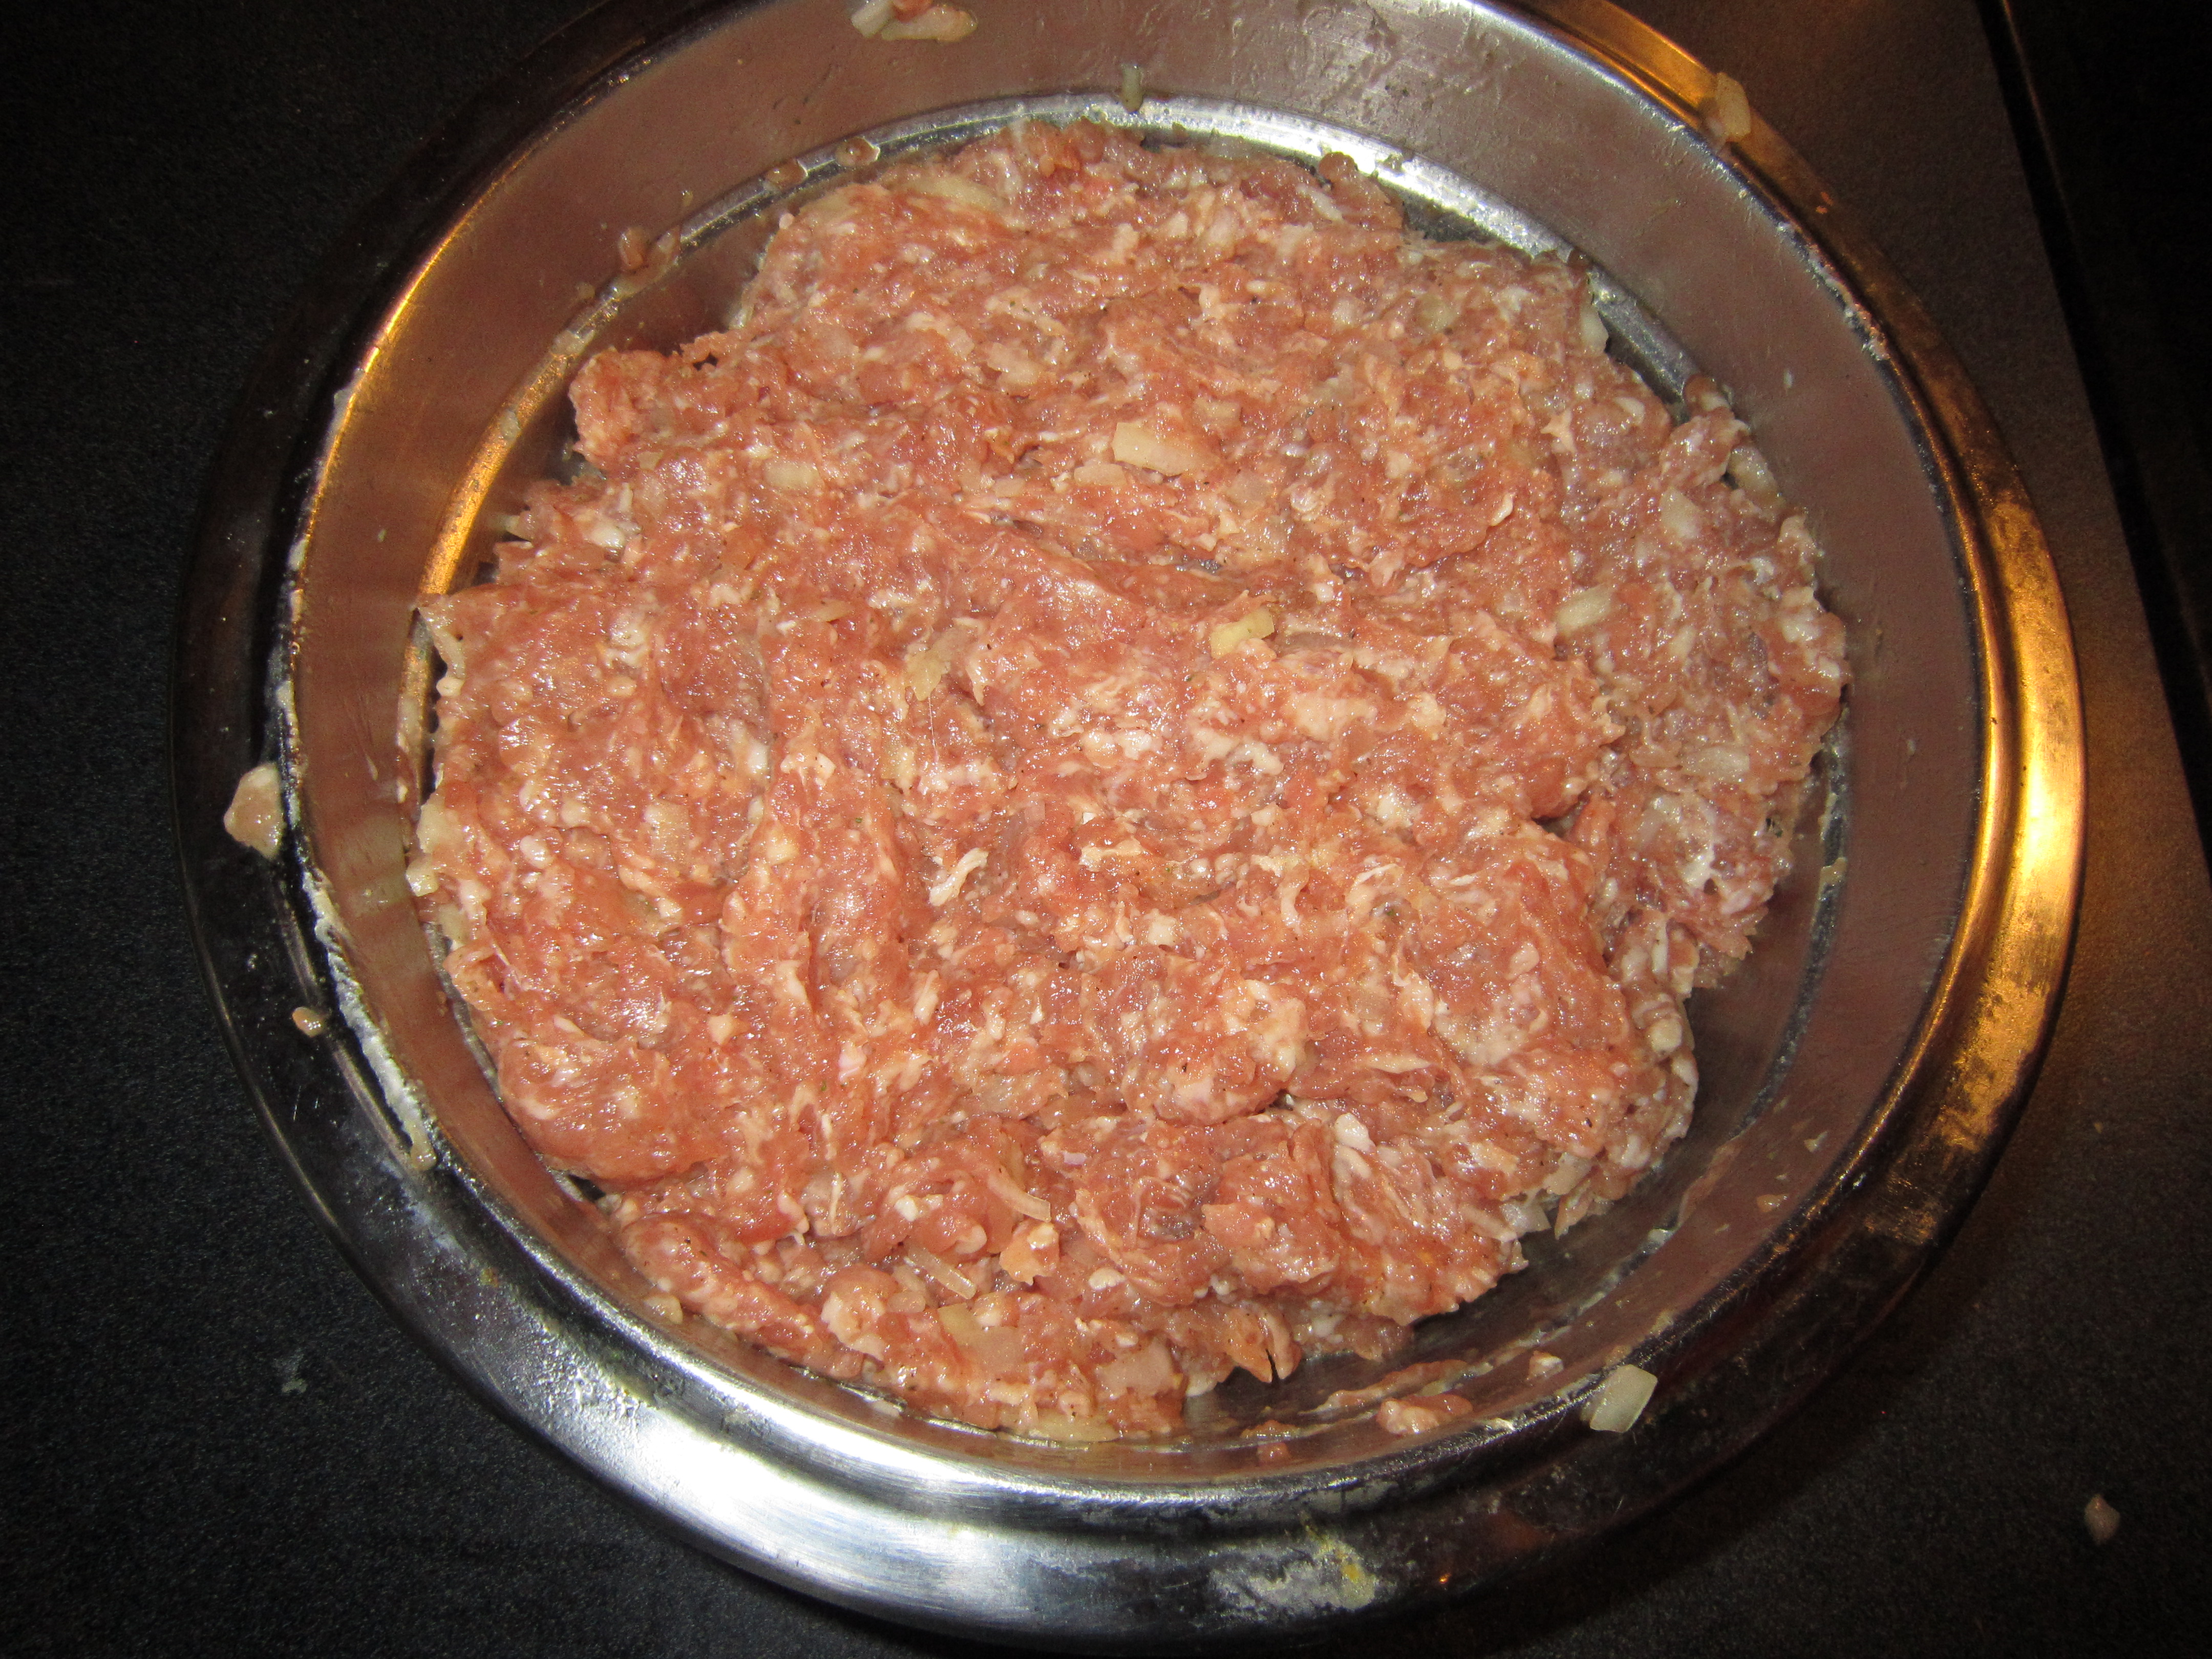
7) Put the ground meat into a big bowl. Add the egg, 1 teaspoon Mrs.Dash, 1/4 teaspoon pepper, 1/2 of your chopped onion, and 2 teaspoons salt.

IMG_0433

8) Mix the meat mixture very well.

IMG_0437

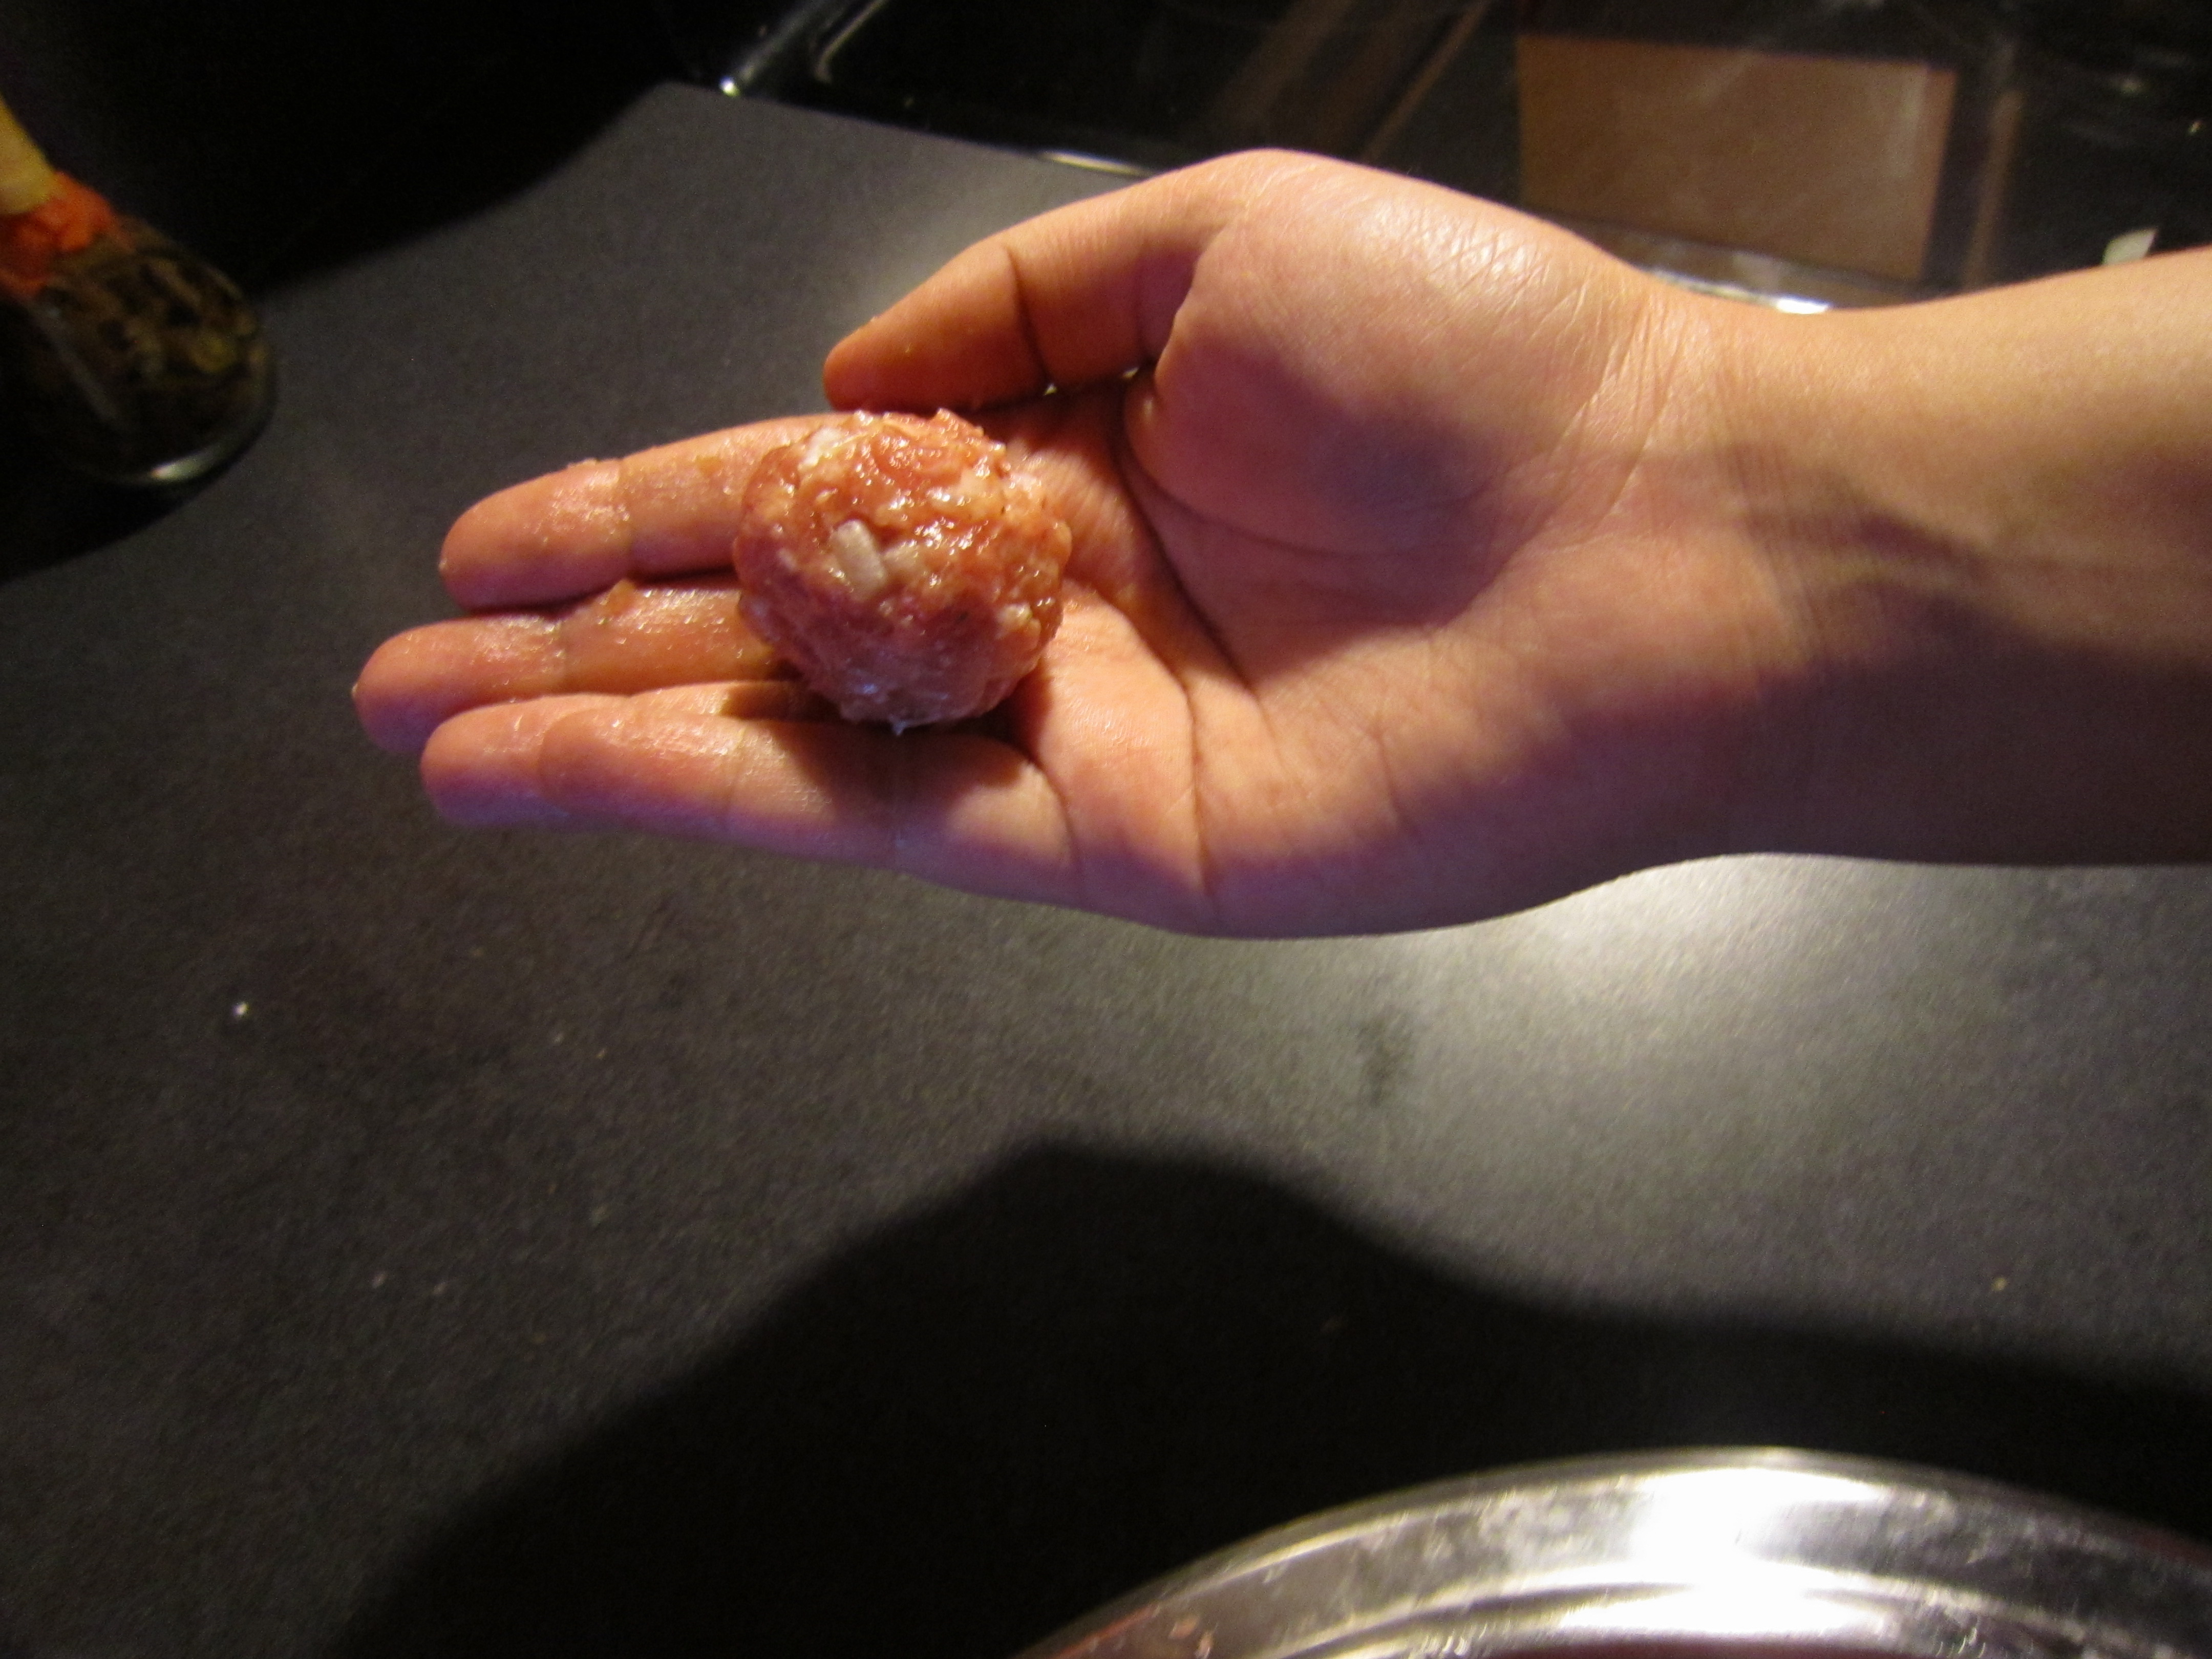
9) Then make the meatballs. Take the meat mix and roll it into little balls. I make mine bouncy ball size. You can put the meatballs into the pot as you roll them or you can make them all and throw them in a few at a time. *I have always thrown them in as soon as I roll them to take less time and less dishes*

IMG_0438

IMG_0440

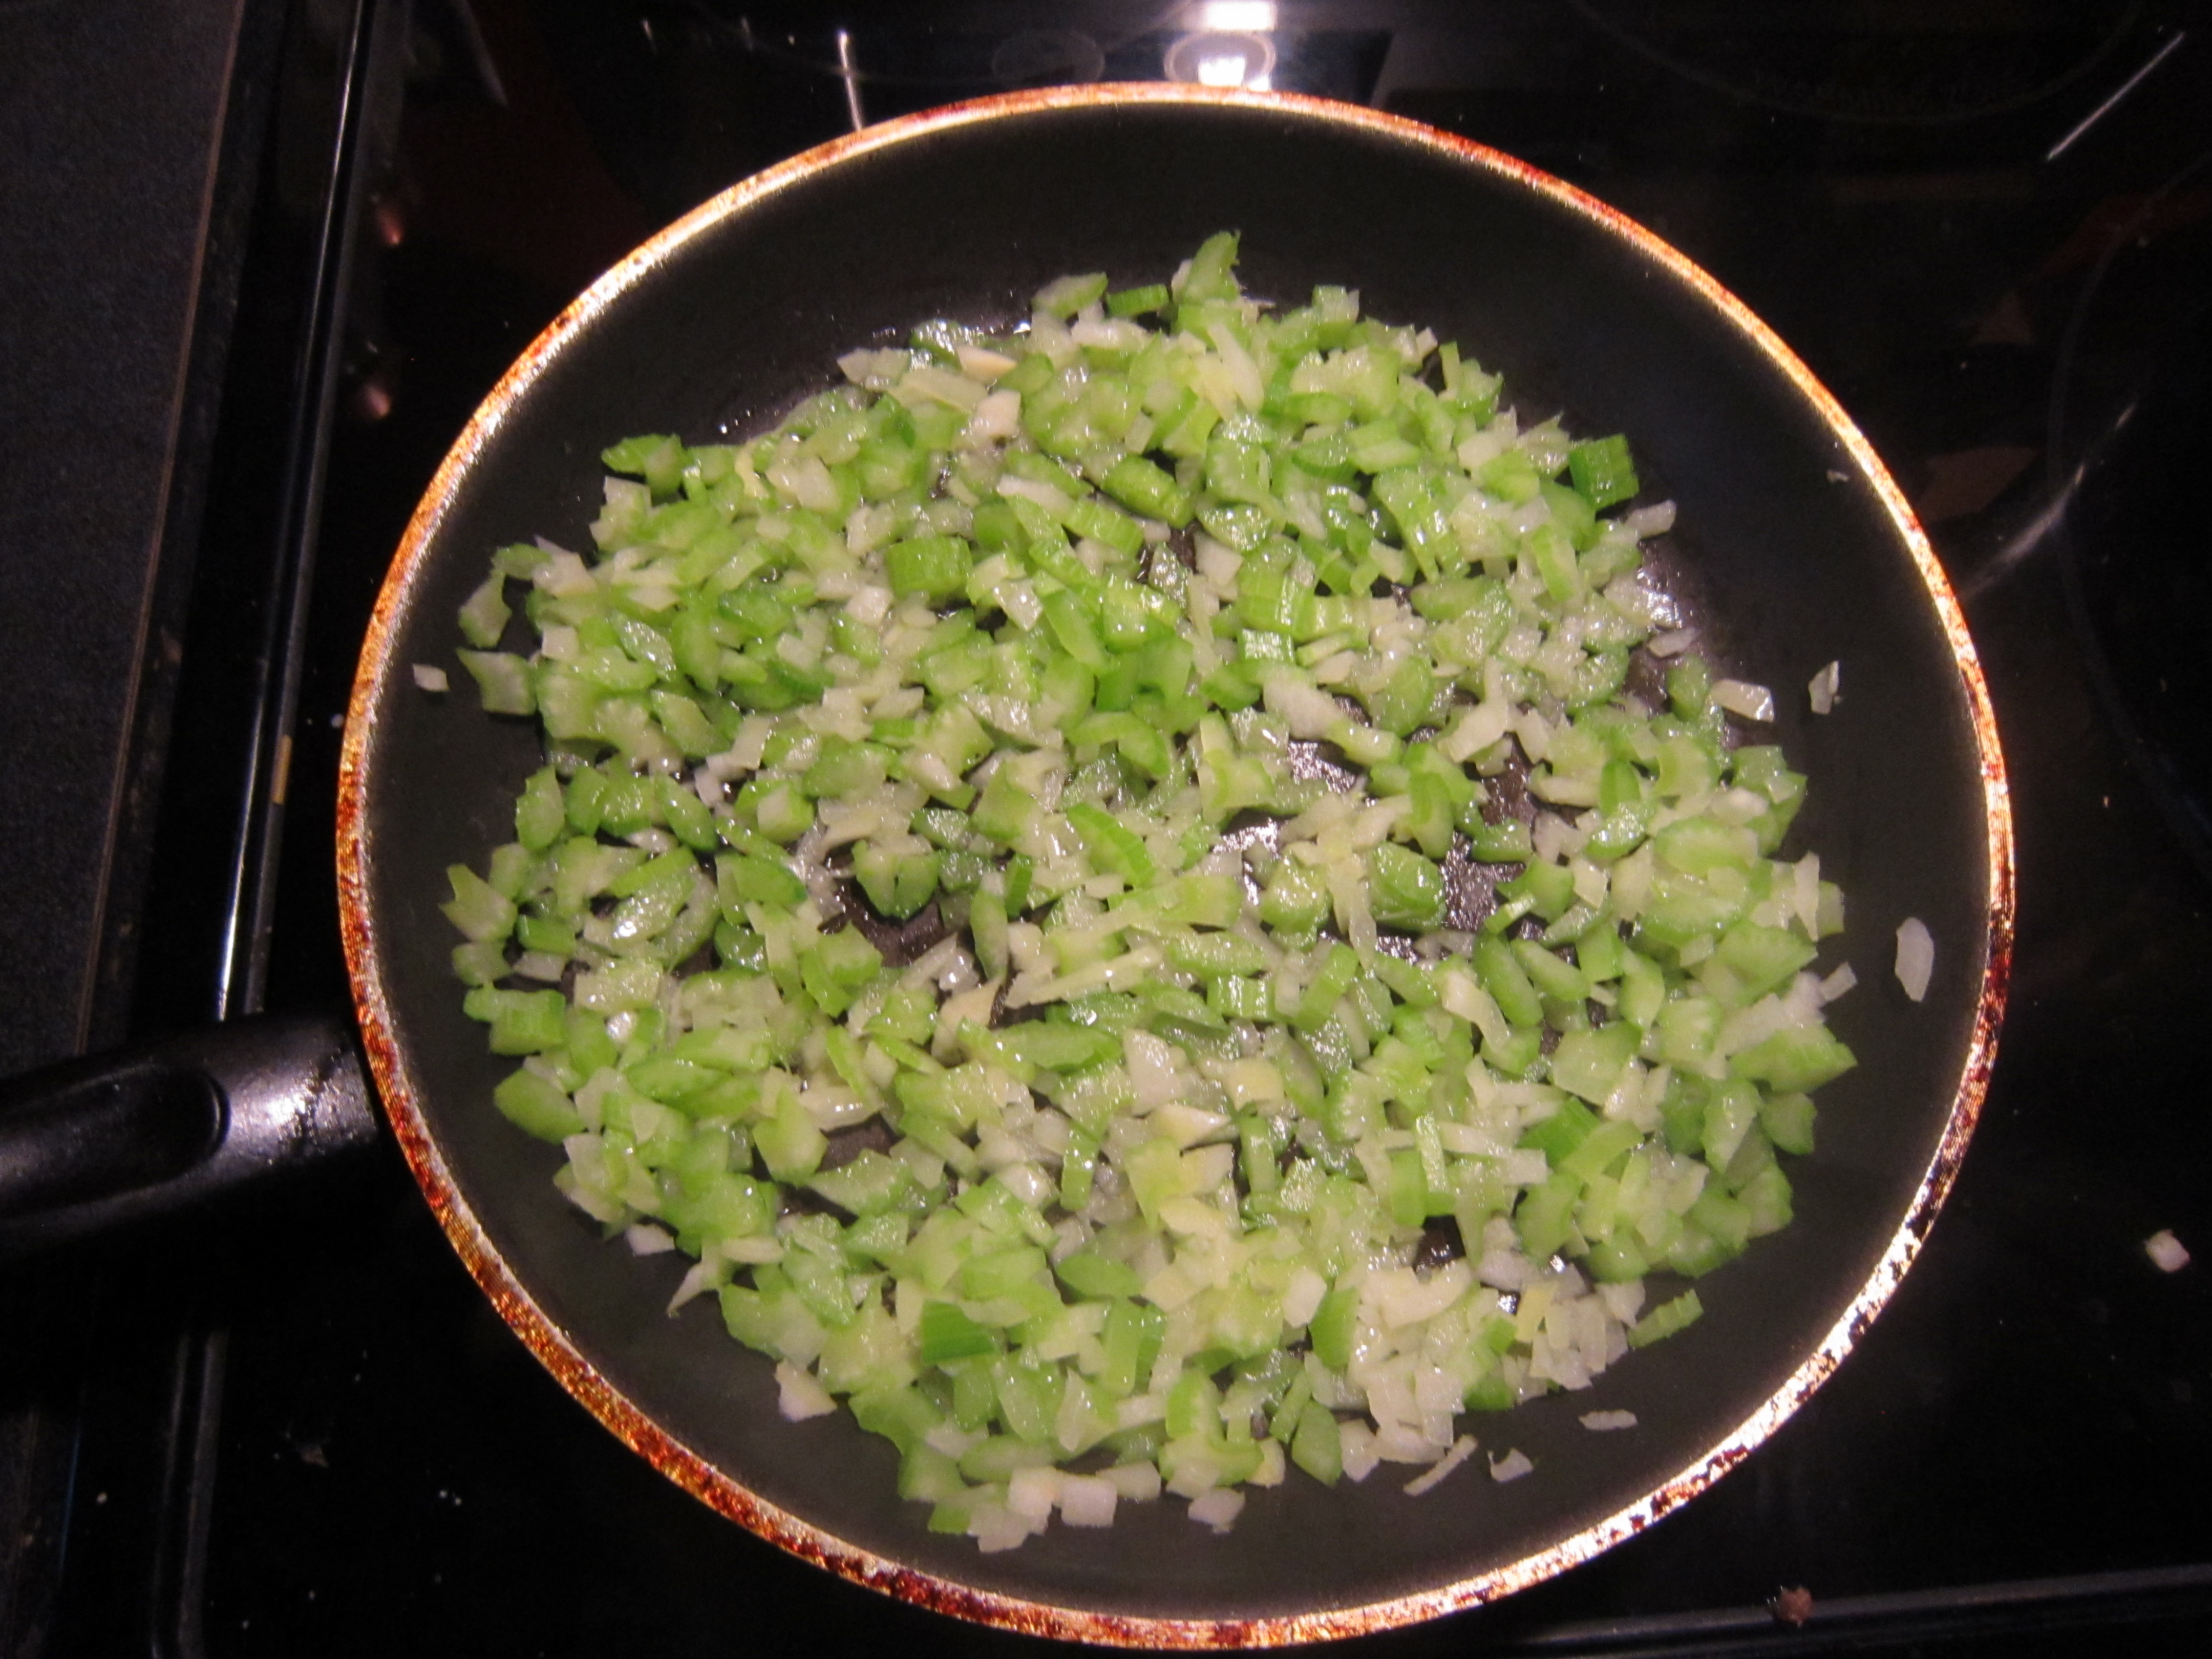
10) Heat the 2 Tablespoons of Vegetable oil in a skillet. Add the chopped celery and onion. Cook it for about 7 minutes, Mixing continually or until the onion and celery is soft.

IMG_0442

11) Add the onion/celery mix to the pot of soup.

12) Lastly, add the dill to the soup.* I add Trader Joe’s dry dill, 1 and 1/4 teaspoons* … Try it. If you need to add more salt, pepper, or Mrs.Dash then do so. *I usually add 1 teaspoon of Mrs.Dash, and sprinkle a little salt and pepper in it.

IMG_0463

Beef Gravy (подлив)

IMG_0381

This beef gravy, or as us Russian’s call it “подлив”, Is very simple to prepare and is absolutely delicious! However the cooking time takes 1 and 1/2 to 2 hours, So it is a good idea to plan ahead of time when making this recipe. It is my favorite beef gravy recipe and I usually make mashed potatoes to pair it with, although pasta will work just fine too.

Beef Gravy (подлив) {Serves 8}

Ingredients:        

  • 4 Tablespoons Ketchup (Organic ketchup tastes best)
  • 1 Large onion, chopped finely
  • 4 1/2 Cups boiling water with 1 and 1/2 Tablespoons of Organic “Better then Bouillon” Chicken base OR just use 4 and 1/2 Cups of Chicken broth. *Either will work but I prefer the Better then bouillon because it gives a richer taste
  • 3 Carrots, peeled and shredded
  • 2 LB Beef Chuck (Only Chuck!)
  • 2 Tablespoons of Vegetable oil
  • 2 Tablespoons of All purpose Flour
  • 2 Bay leaves
  • 1/4 teaspoon Garlic powder
  • 1 teaspoon Paprika
  • 1/2 teaspoon Mrs. Dash seasoning (Original)
  • Salt & Pepper to taste
  • 3 cloves of garlic
  • Green Onion (For garnish. Optional but highly recommended)
  • Fresh, frozen, or dried Dill (I used Trader Joe’s dried Dill)

Directions:

1) Do the prep work first. Wash, peel, and shred the carrots. Peel and finely dice the onion. Set both aside. Wash the beef thoroughly.

2) Cut the beef chuck into about 1/2 inch pieces.

IMG_0318

3) Heat the oil in a pan on Medium – High Heat. Then throw in all the beef. Add some salt and pepper and stir.

IMG_0323

4) When the meat browns a bit lower the heat to Medium (I did 5.0), Add the onion and carrots. Mix until evenly distributed.

IMG_0335

5) When the onion and carrots become soft, add the ketchup and garlic, and mix well.

6) Then add the flour. Mix it really well so that it does not clump up. Then add the boiling water with the Better then bouillon mix OR the chicken broth, Whatever you are using.

IMG_0337

7) Give it another good mix. When it starts to boil, Lower the heat to Low-Medium ( I had it on 2.0) Cover the pan with the lid and let it cook for about 1 and 1/2 to 2 hours. Until the beef is tender. Don’t forget to mix it every once in a while. In the very end I added about 1 teaspoon of Trader Joe’s dried dill and sprinkled fresh green onion onto everyone’s plate (except my 2 yr old) and it adds a lot of great flavor and color to this dish!

IMG_0381